Touring Antelope Canyon: Lower Canyon
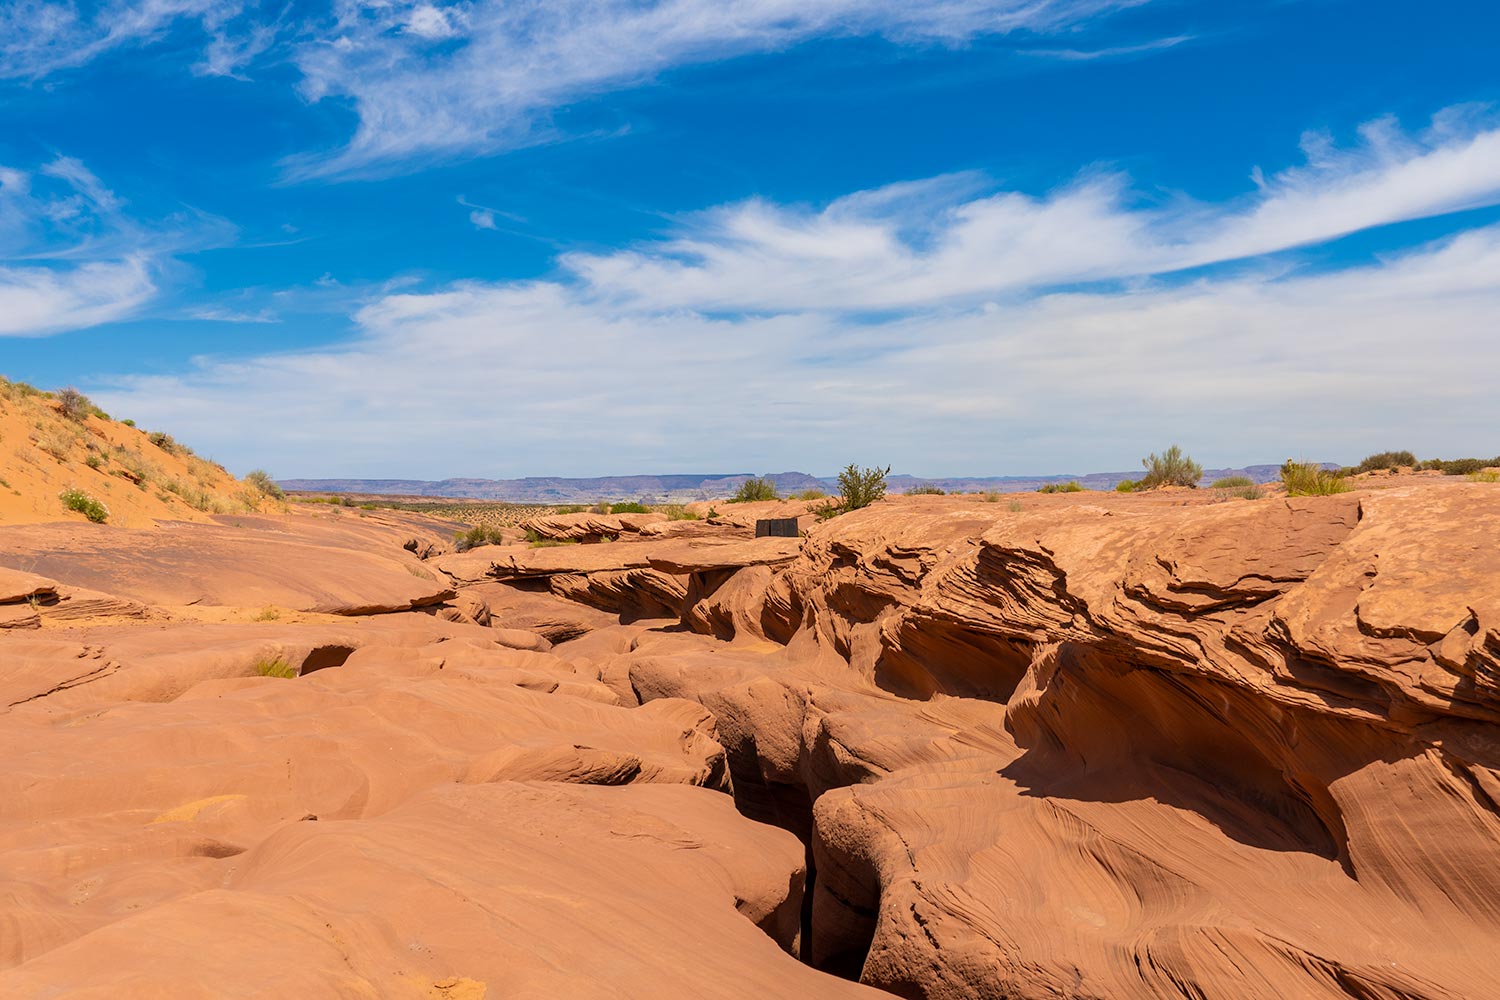
Antelope Canyon, named after the pronghorn Antelope, is a slot canyon famous for its striking canyon walls in the form of flowing rocks. Formed by flash floods, the Canyon is comprised of two separate slot sections—Upper Antelope Canyon and Lower Antelope Canyon.
This guide will help you maximize your time in Lower Antelope Canyon by providing information on the following topics:
- Tour details
- General planning and logistics
- Photography tips and what to look for
| Lower Antelope Canyon: Important Information | ||
|---|---|---|
| Difficulty | Easy | |
| Duration | Tours last around 45 to 60 minutes. You must arrive 30 minutes prior to departure time. | |
| Distance | 1,335 feet (407 meters) | |
| Tour Agency | I made reservations with Ken's Tour. Important: You must reserve a tour. It is illegal to go without a guide. | |
| Photography Tours | Due to congestion, photography tours are no longer available (from any tour agency) for Lower Antelope Canyon. Photography tours are still available for Upper Antelope Canyon. | |
| Peak Season | Summer is the peak season. The strong beams of light, mostly unobstructed during the summer months, are responsible for the striking colors. | |
| Arrival Time | Although the other times are not bad by any means, 11 to 2 pm are the most reliable touring times, because the sun will be high and bright. | |
| Special Considerations | Phoenix does NOT follow Daylight Saving Time, so follow the correct local time. Tours should ideally be booked months in advance. | |
| Gear Recommendation: Good hiking shoes, protective equipment for your camera (to be discussed in detail later in the Photography Tips section), and a water bottle. | ||
Planning and Logistics
Antelope Canyon is on Navajo land, so you must be guided by a Navajo native. It’s also for safety reasons. As previously mentioned, the canyon was form by flash floods, so you need an experienced guide who will know what to do in emergencies. Usually, they will cancel tours if they suspect flash floods, but there are situations that simply cannot be predicted.
General or Deluxe Tour?
In my opinion, Deluxe is 100% worth it.
While the normal group is around 10 people, our group consisted of only 2 people. You can choose anywhere from 1 to 4, and it’s only people from your group. They do not fill up the group until it’s 4 people.
Daja, our guide, was courteous and patient. She helped us find and take the most amazing photos. She would occasionally suggest a spot or request our camera so she can take some photos for us.
The photos alone made the Deluxe package worth it. I guarantee that there were many fantastic photos that I simply would never have been able to find without the guide’s personalized assistance.
They even offered water bottles and cookies.
Note: You must arrive 30 minutes before your tour time.
Camera & Equipment
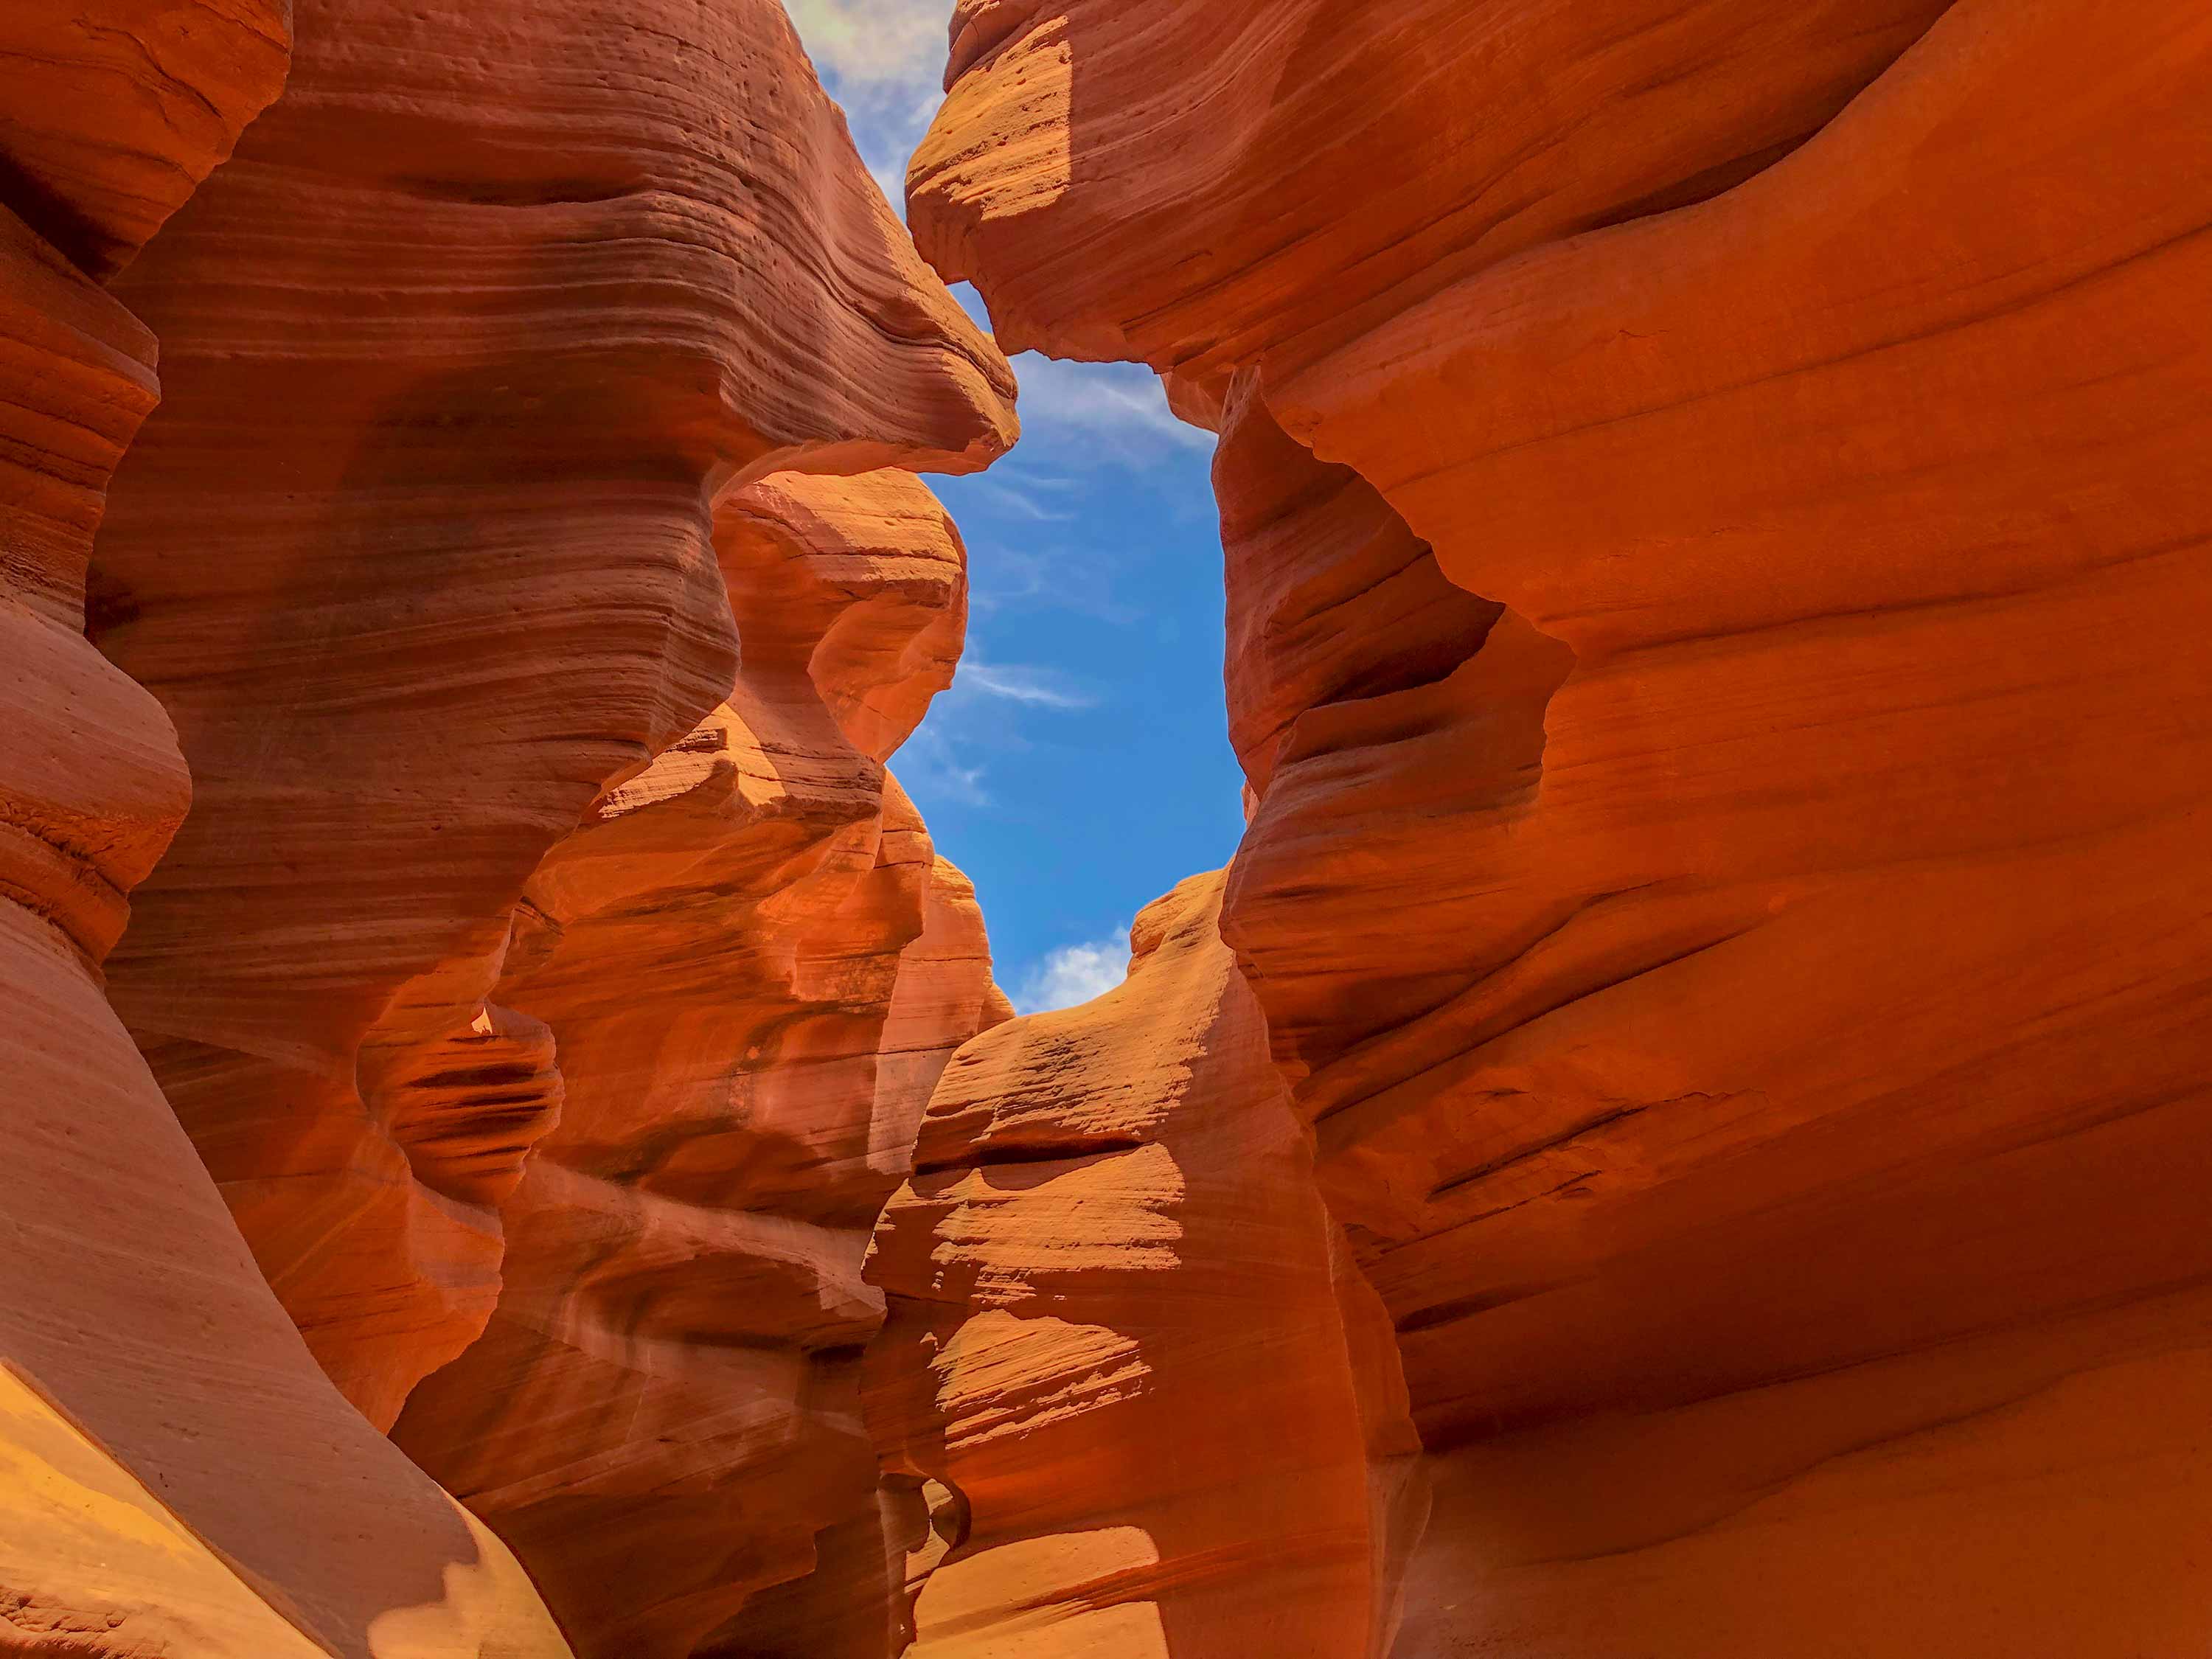 Ken’s Tours does not allow GoPros, tripods, or monopods since those items are reserved for photography tours (exclusive to Upper Antelope).
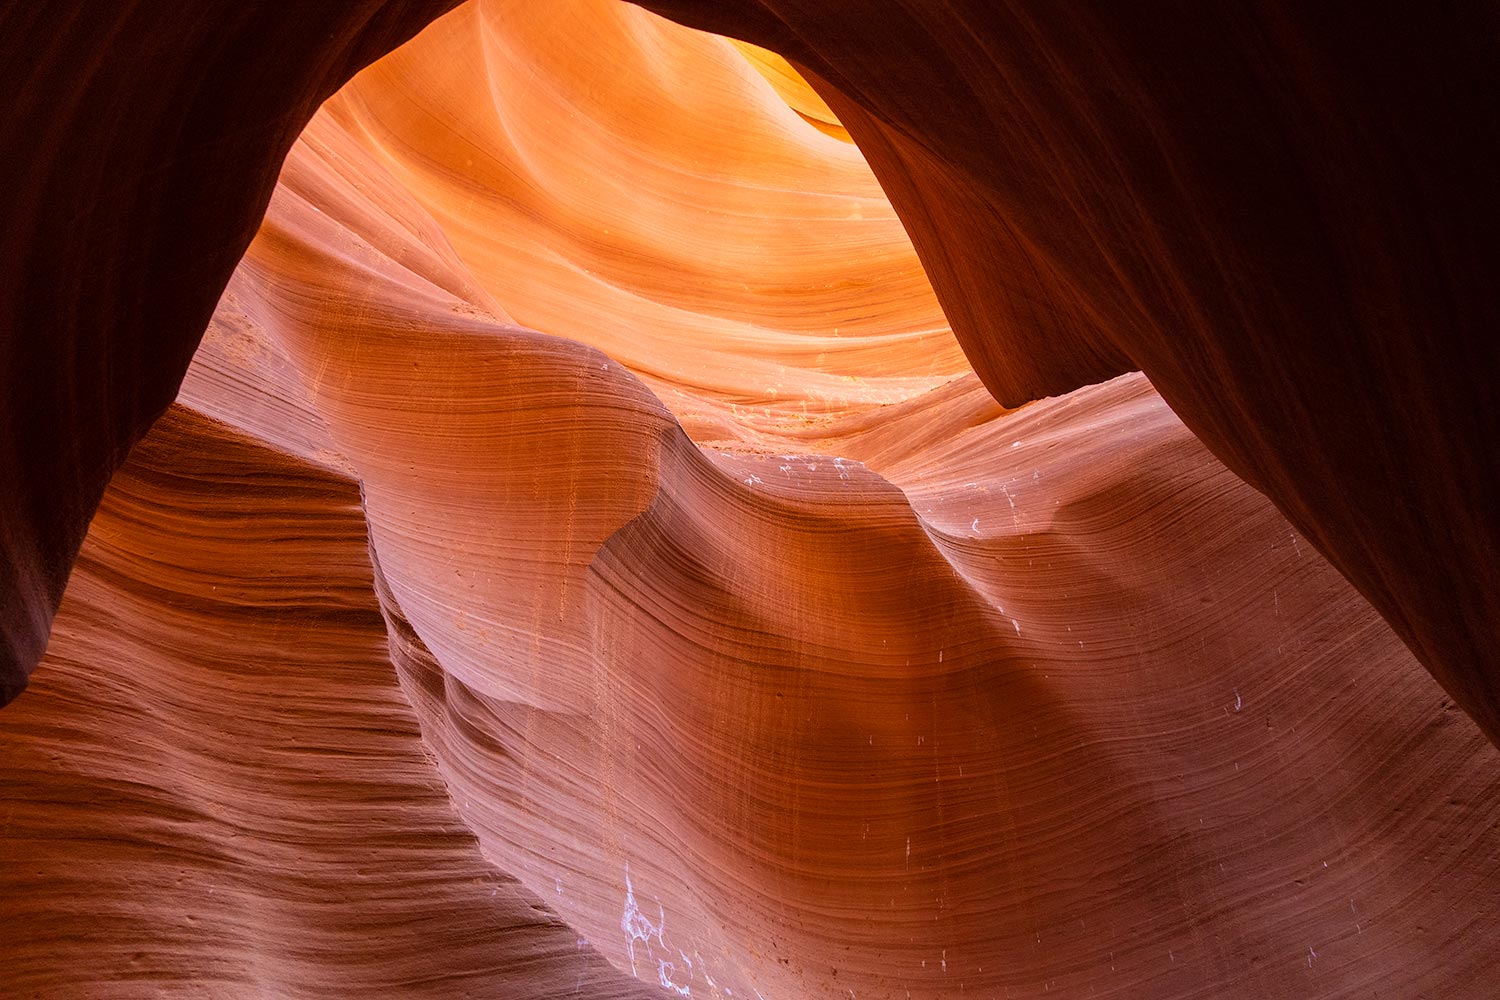
While Lower Antelope Canyon does not have its own photography tour, you can see that it’s still strikingly beautiful and photogenic in its own right. It’s a congestion issue, not a scenery issue.
Due to the sand, it would help tremendously to have some sort of protective casing or bag for your camera. While throwing/kicking sand is forbidden, accidents have occurred.
Parking
There’s a massive parking lot, so you can just park somewhere and proceed to the information area. There will be clear instructions once you make a reservation.
Photography Tips and Things to Look for
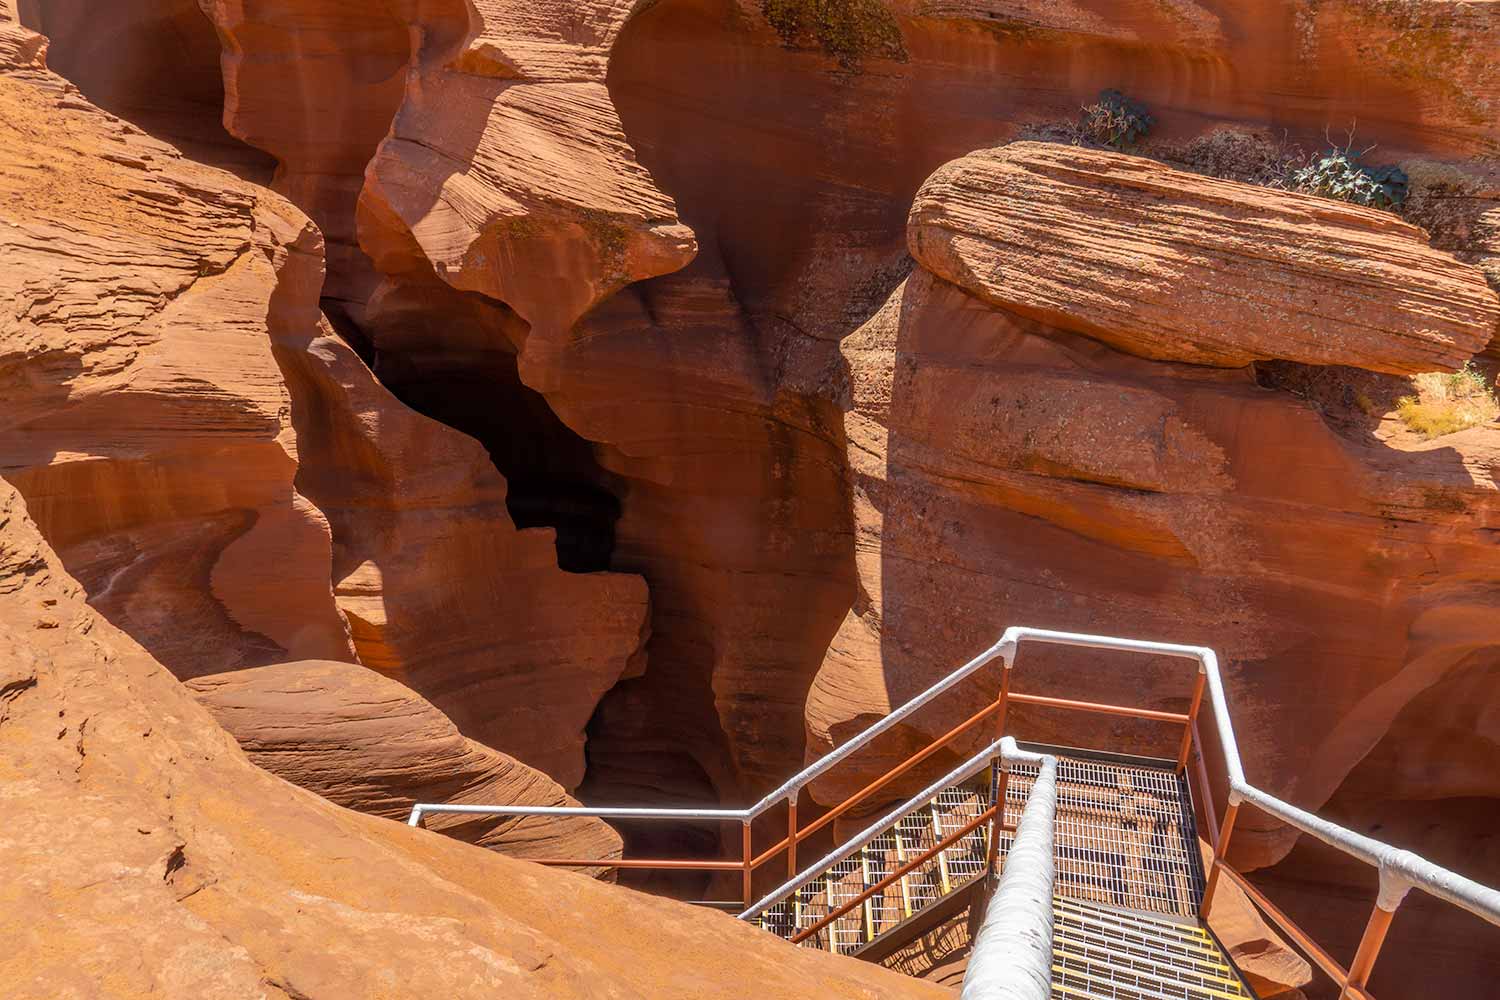
To enter, you will descend down the metal stairways. Due to safety reasons (and not being an asshole who blocks everyone), you cannot take or be the object of a photo once you are on the stairway.
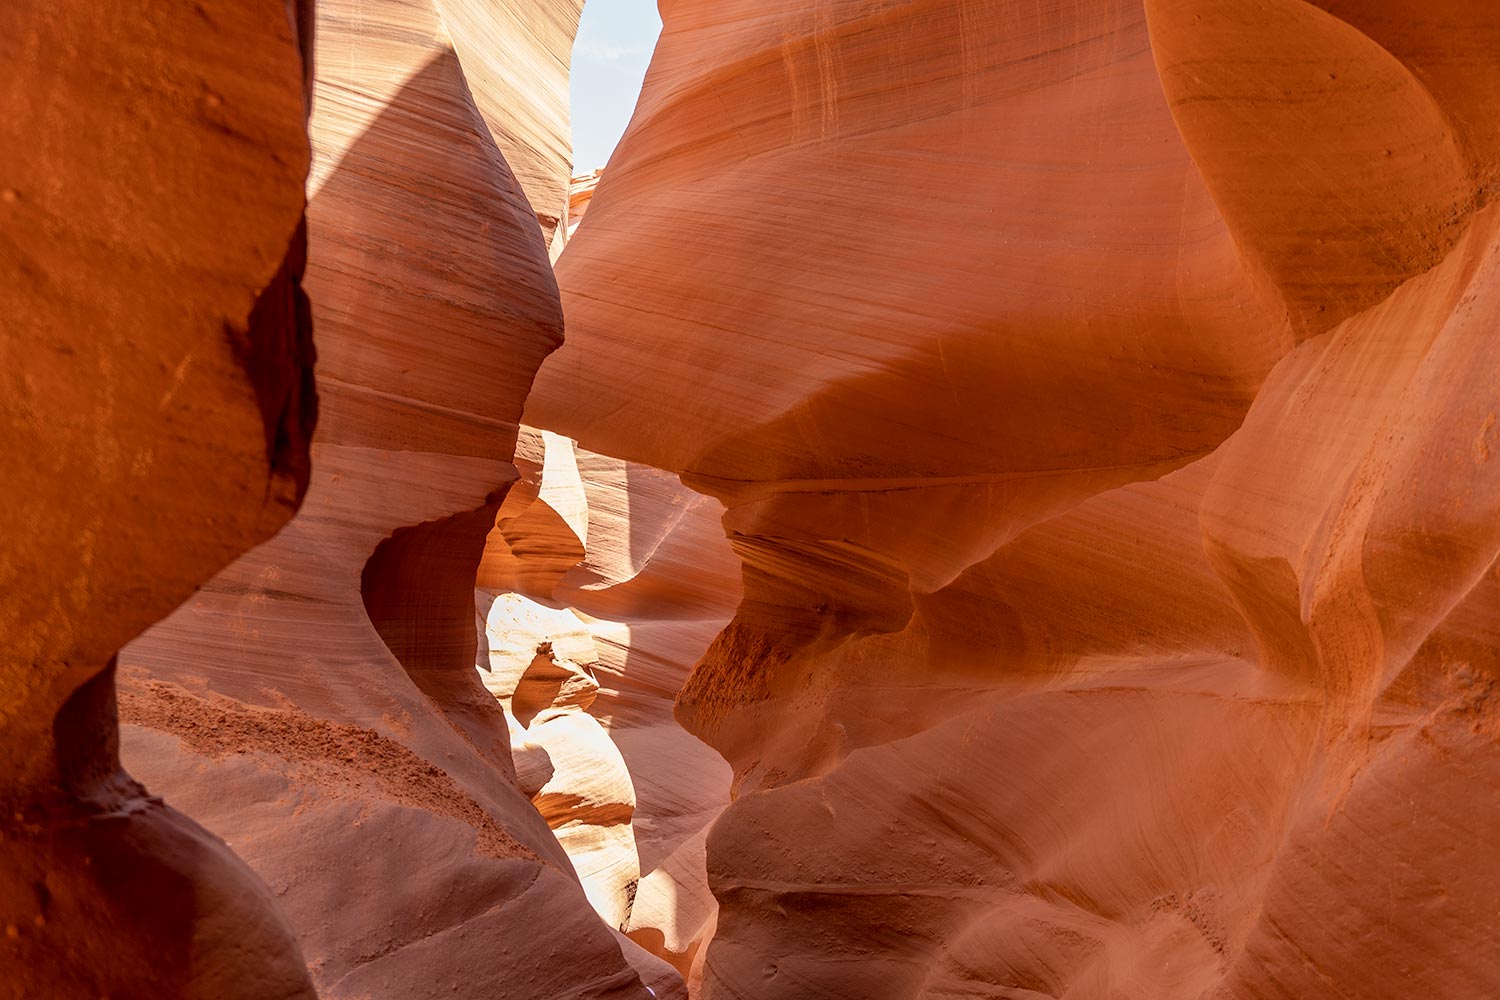
Lower Antelope Canyon is narrower than the upper one. It can get quite crowded as a result, so the best photo opportunities are towards the front and back of the crowd. If you decide on the deluxe package, the guide will wait with your small group until there’s a good photo opportunity.
Photography Tip #1 (Camera Care): If you have detachable lenses, Do NOT detach or change them during the tour. The sand is lethal, so bring a protective bag or case to store the camera when it’s not in use.
Normally, everything is fine, but one accidental move and it’s all over. Most importantly, do not wipe anything (use a blower instead), because the sand will obviously scratch and destroy it.
Lion’s Head: This rock toward the beginning indicates that you’re in the Lion’s Den.
Photography Tip #2 (Camera Equipment): As previously stated, GoPros, tripods, and monopods are no longer allowed in Lower Canyon. Since changing lenses could seriously damage your camera, a zoom lens is highly recommended for versatility. For reference, I brought an 18-135 mm lens but the 18-70 mm range is just fine.
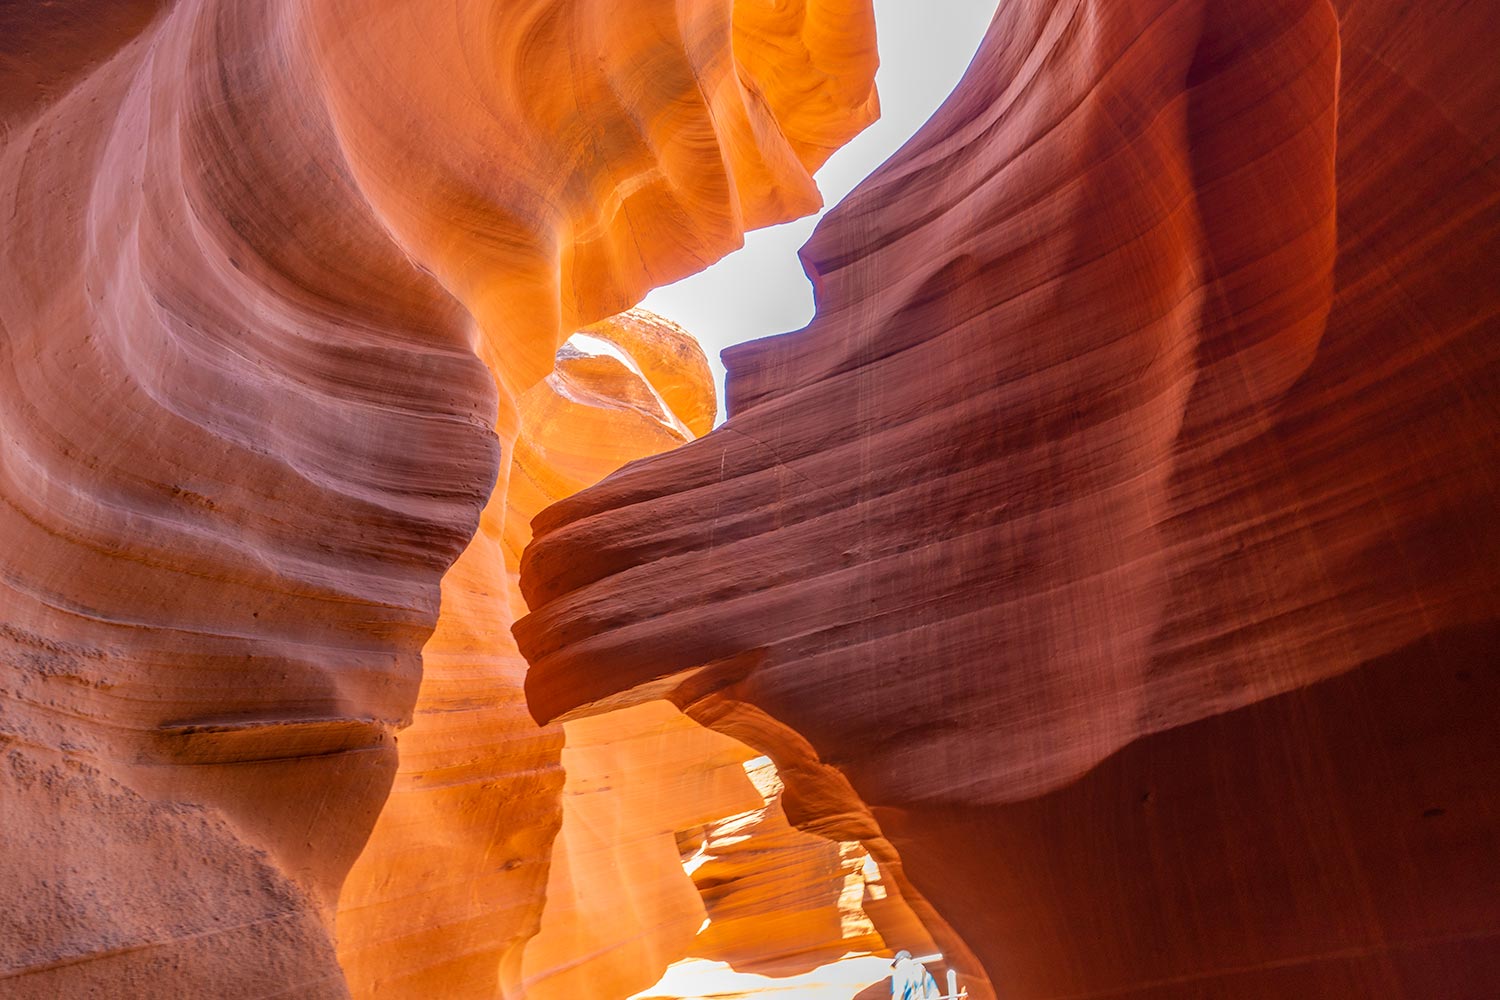
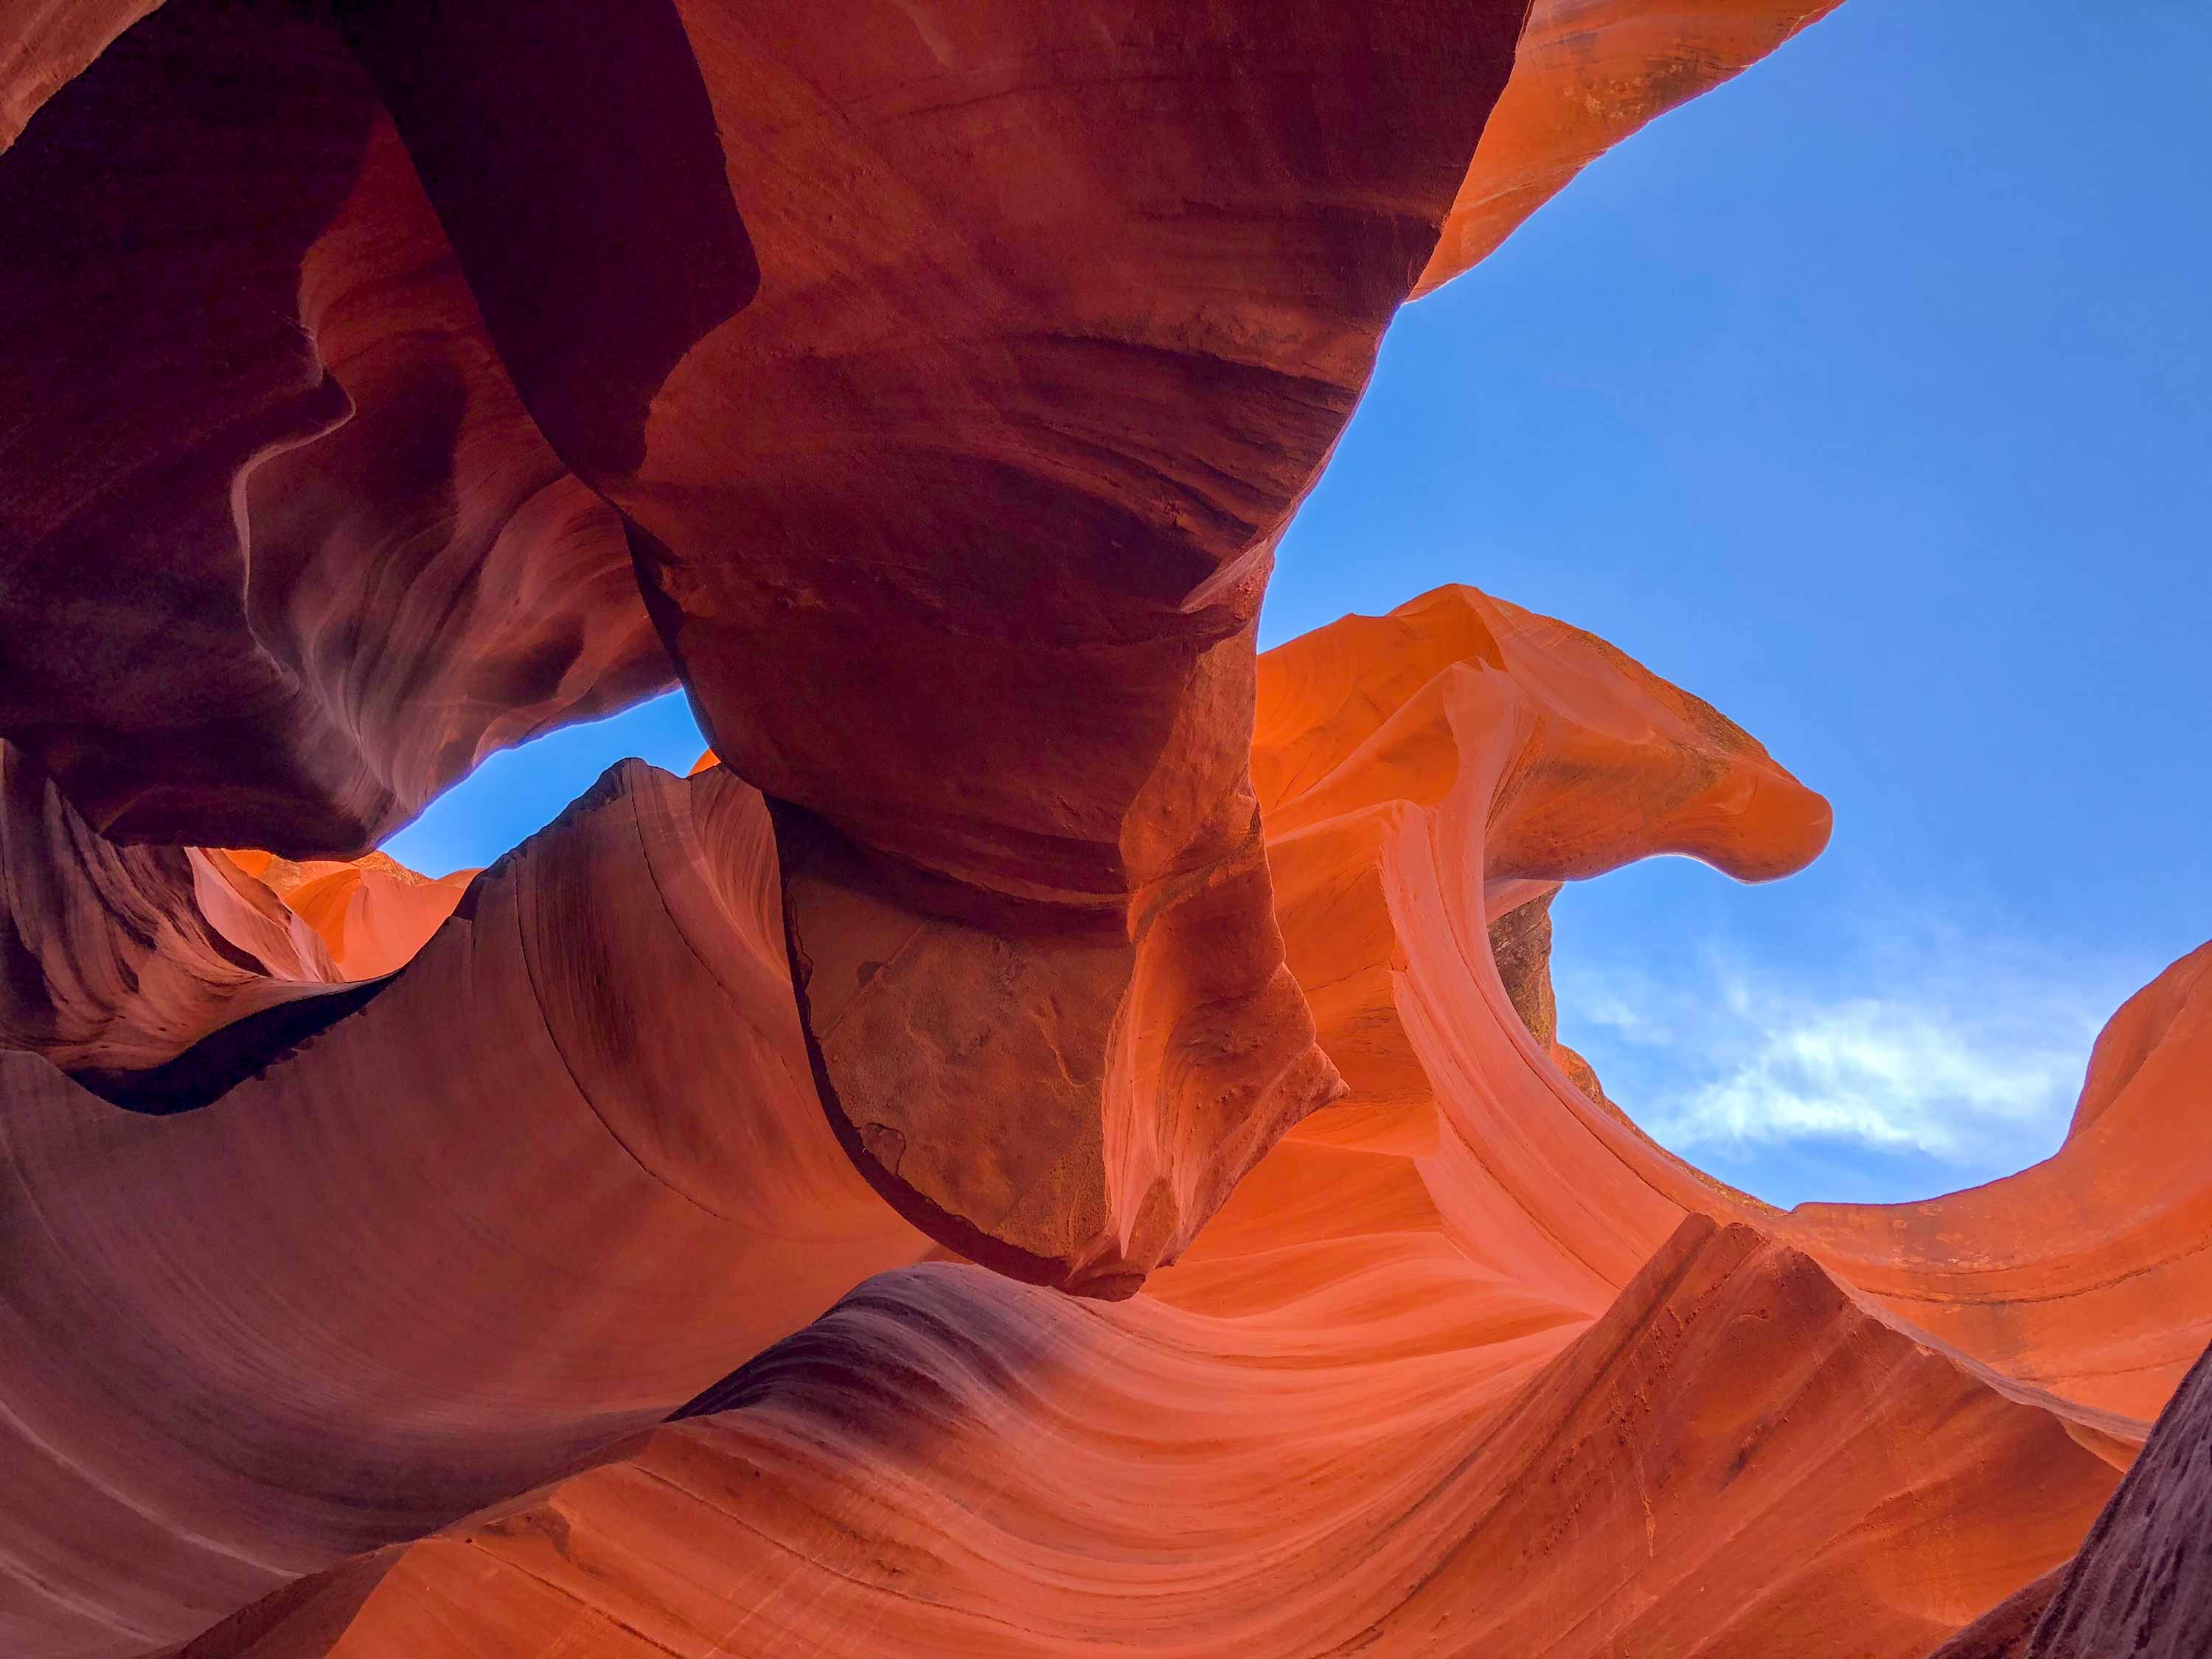
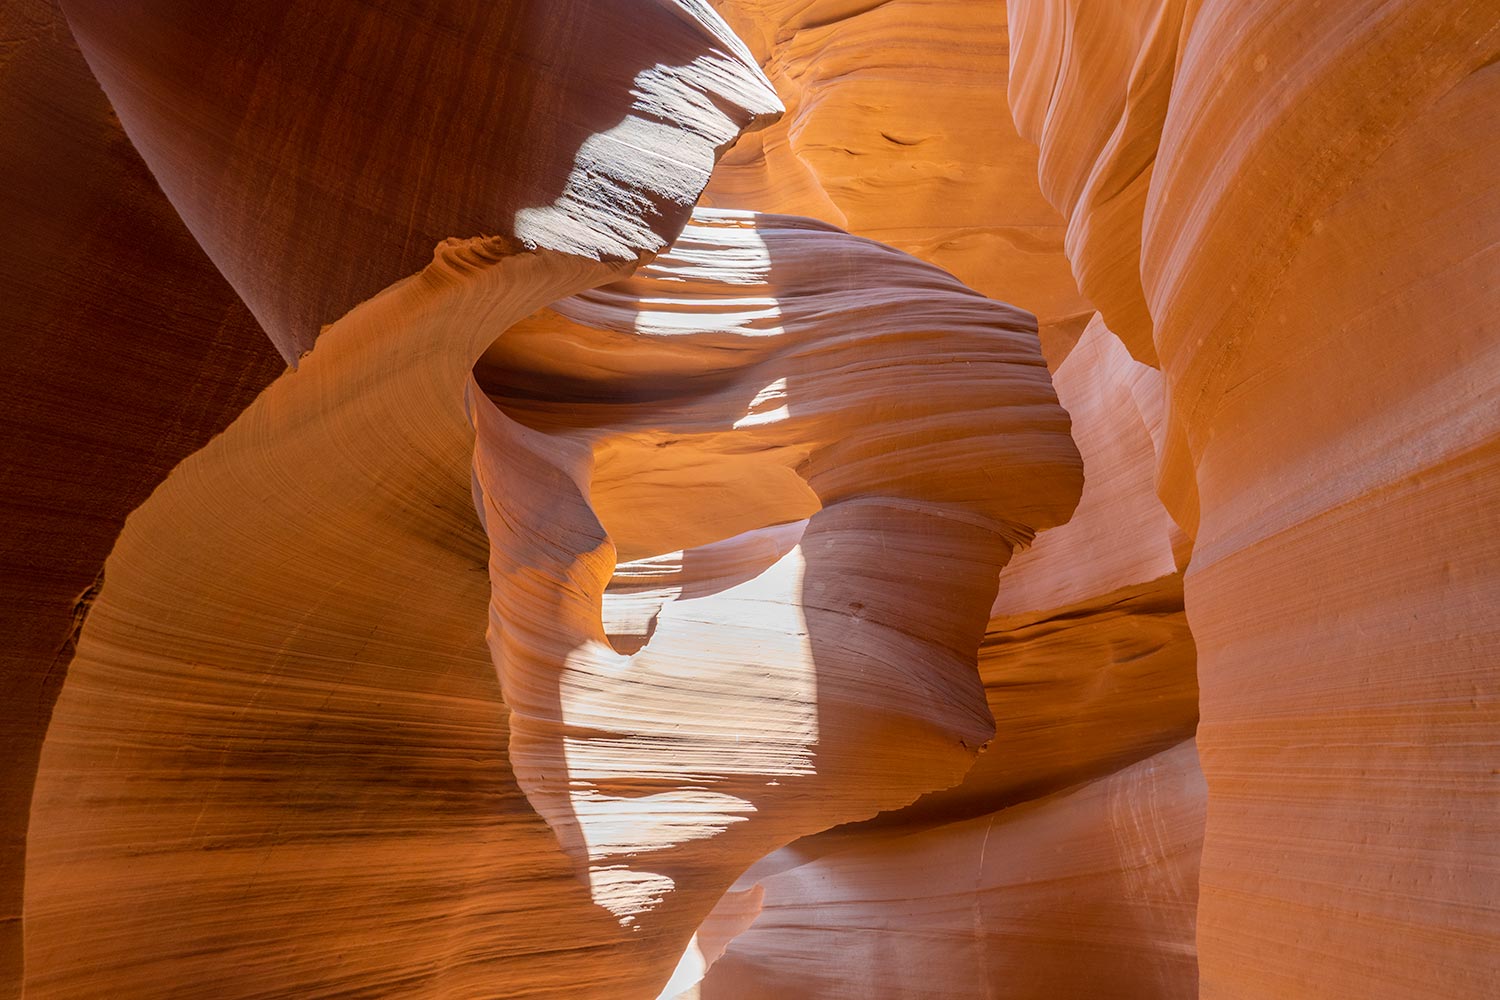
Flowing Rocks: Antelope Canyon is famous for its flowing rocks created by flowing water.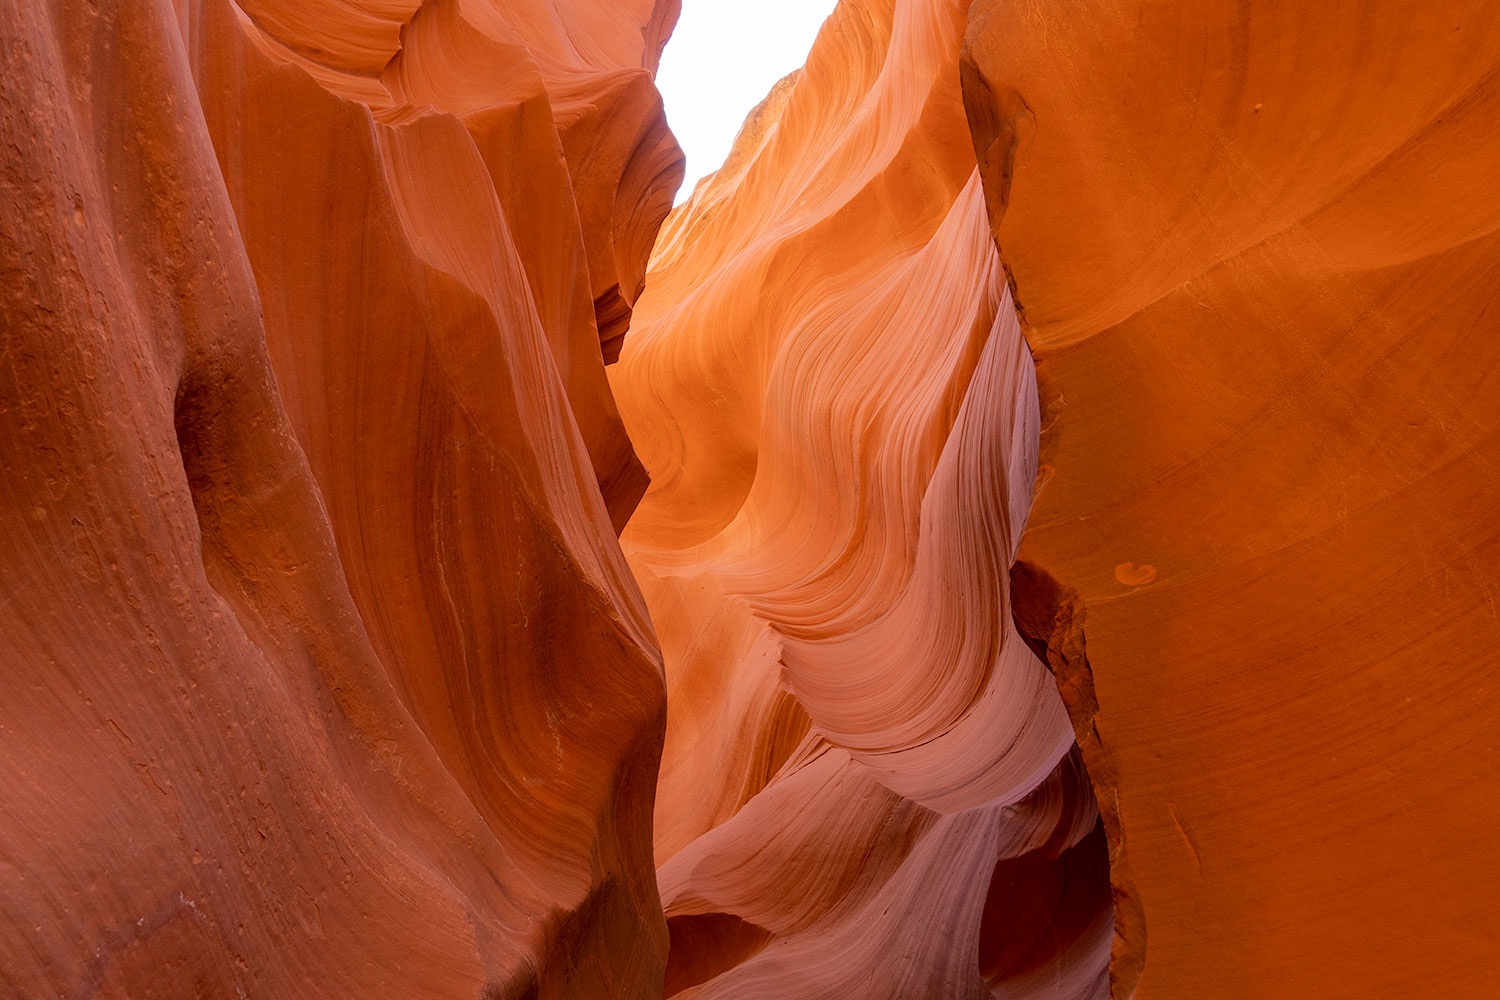
Photography Tip #3 (Camera Settings): The Canyon changes significantly throughout, varying in lighting and depth at all times. In general, you want a smaller aperture to capture most of the scenery (F10 – F18).
As a result, you’ll have to lower your shutter speed to take in more light (1/100 – 1/4). Remember, you are not allowed to bring tripods into Lower Antelope Canyon, so shutter speeds lower than 1/4 will be very difficult or impossible to work with (1/4 is quite hard already).
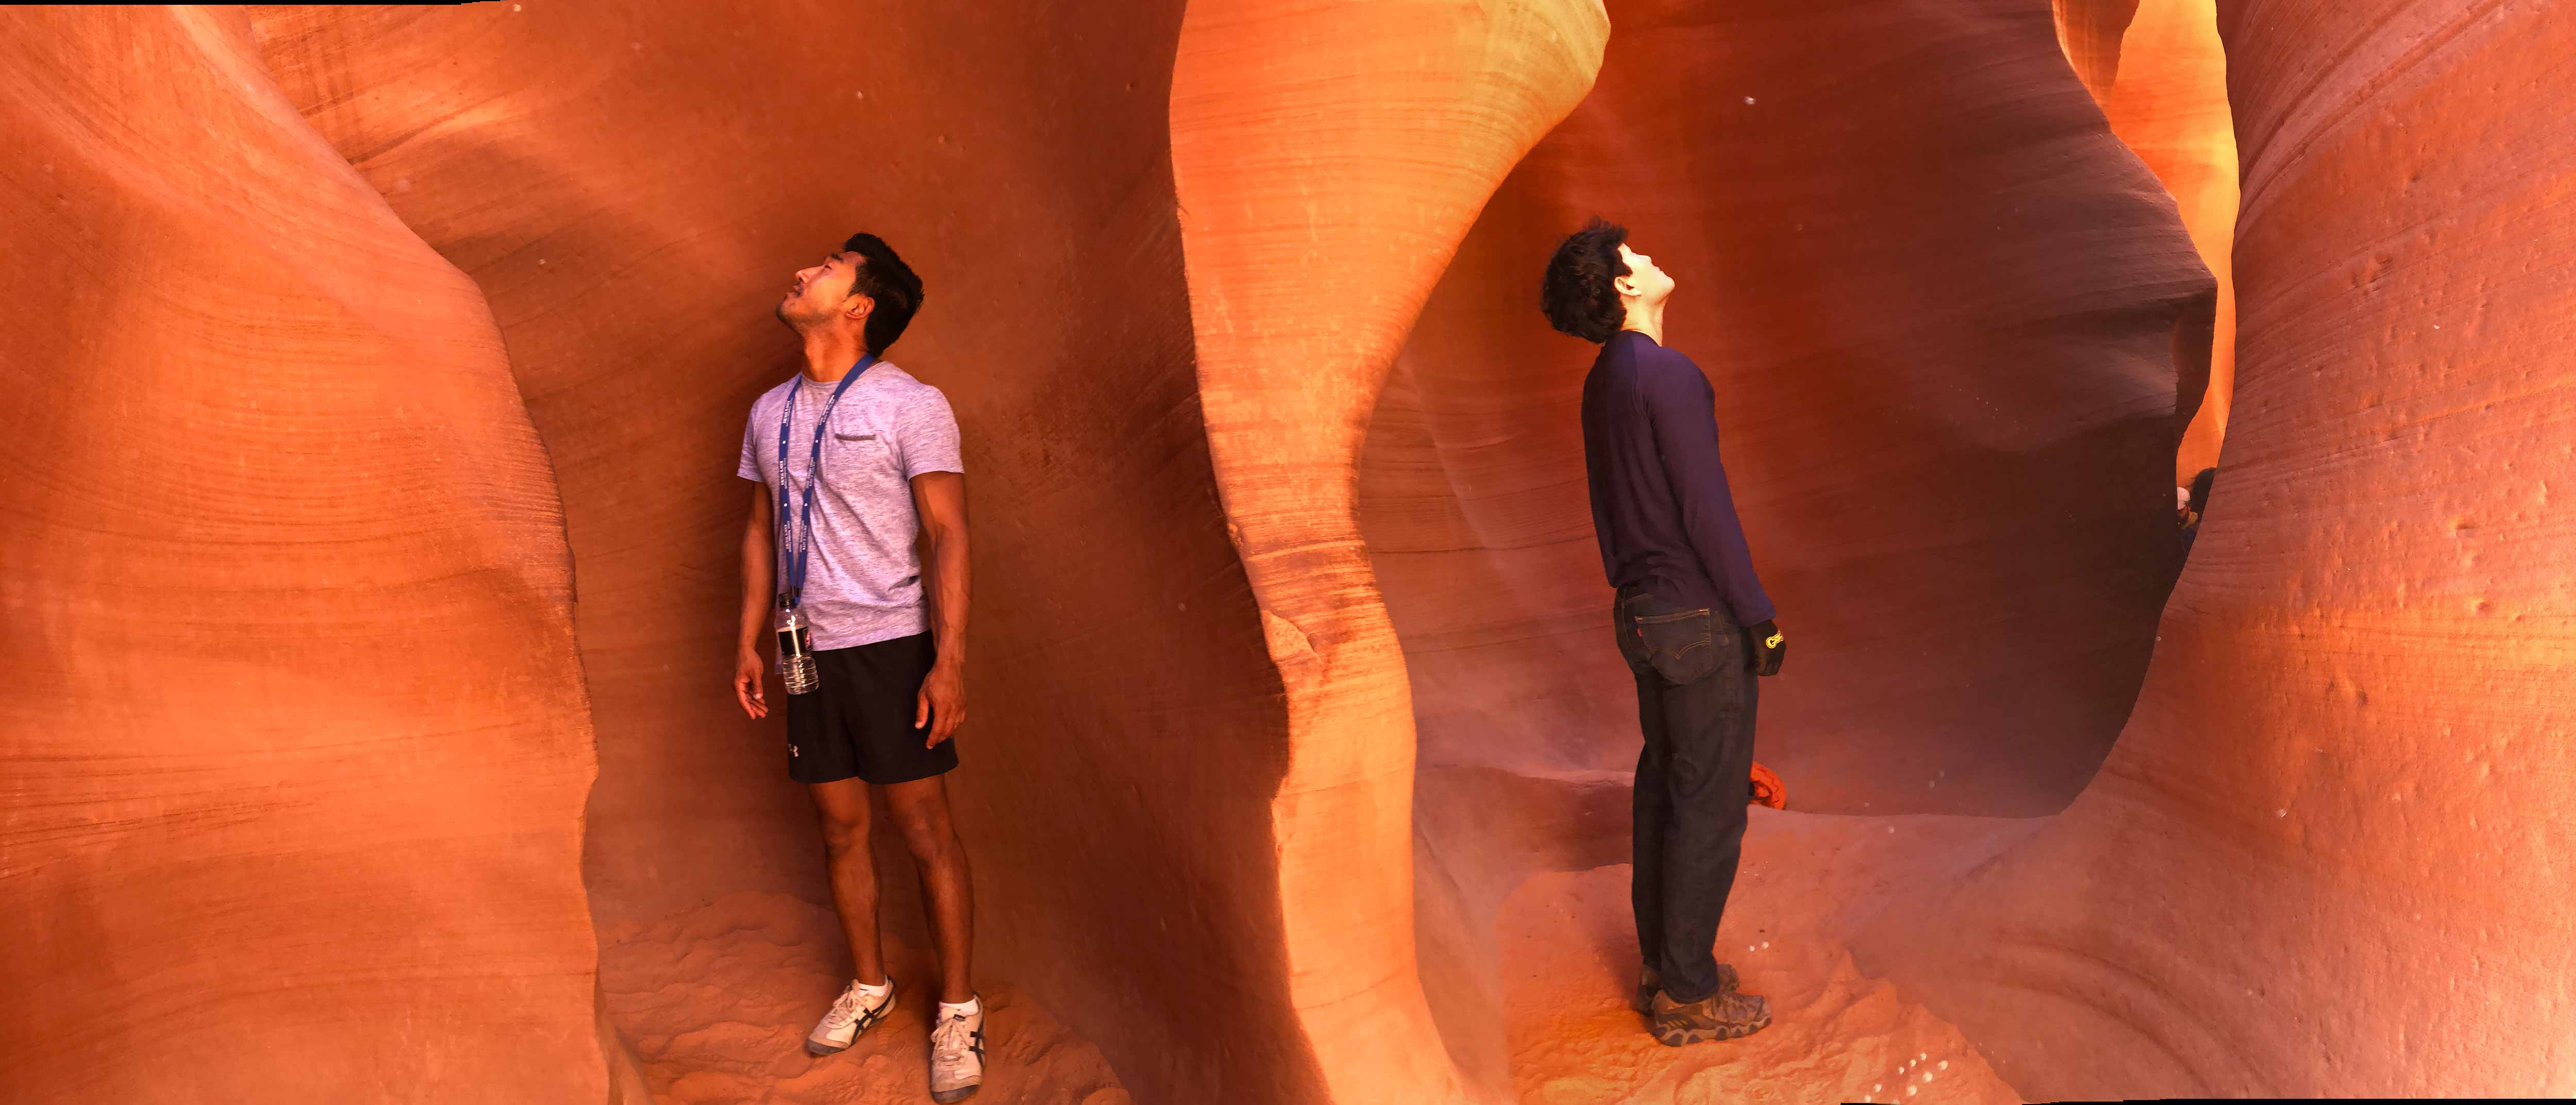
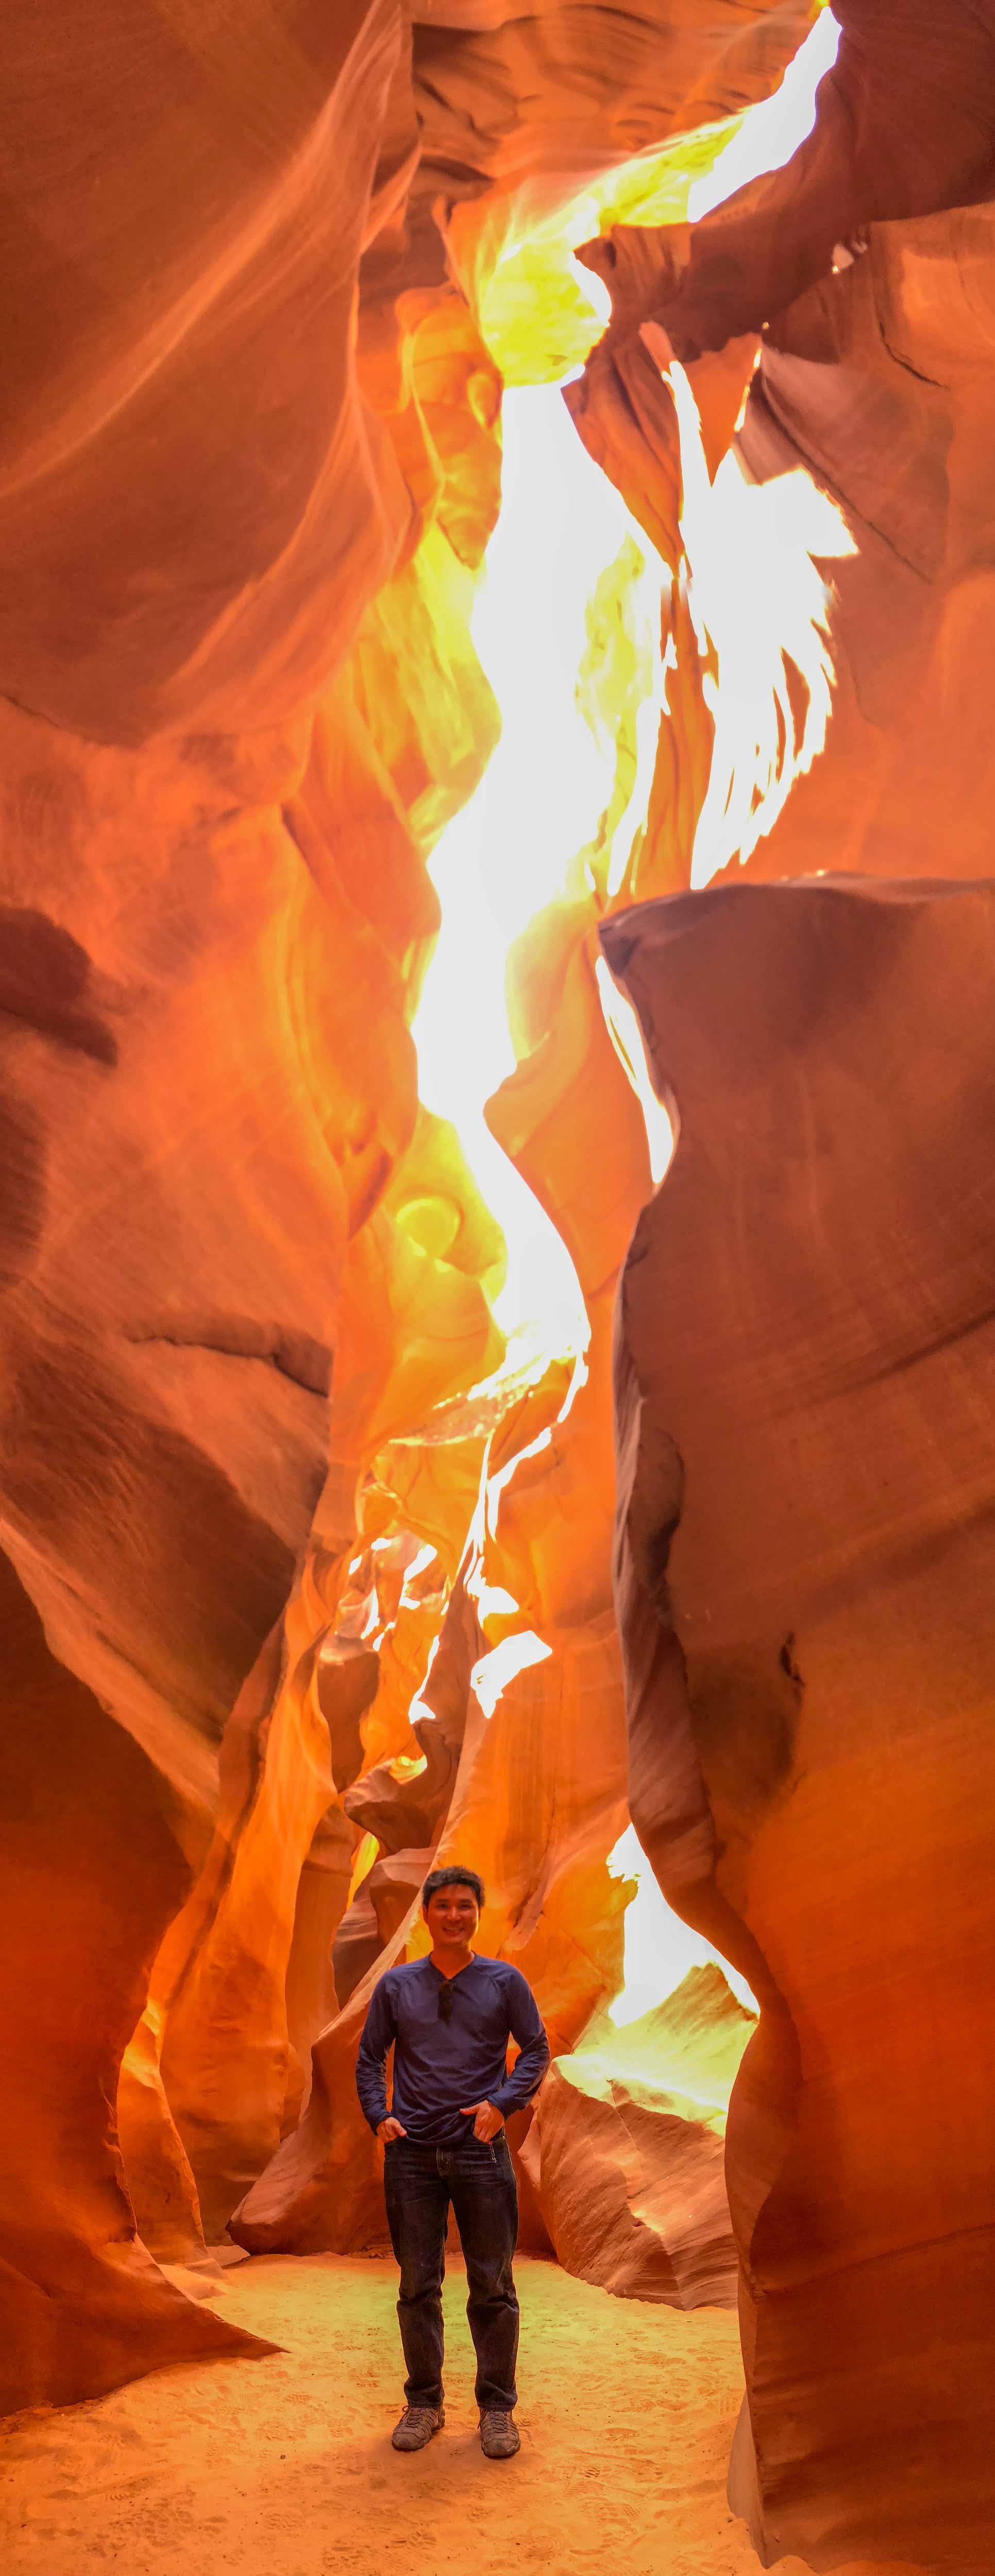
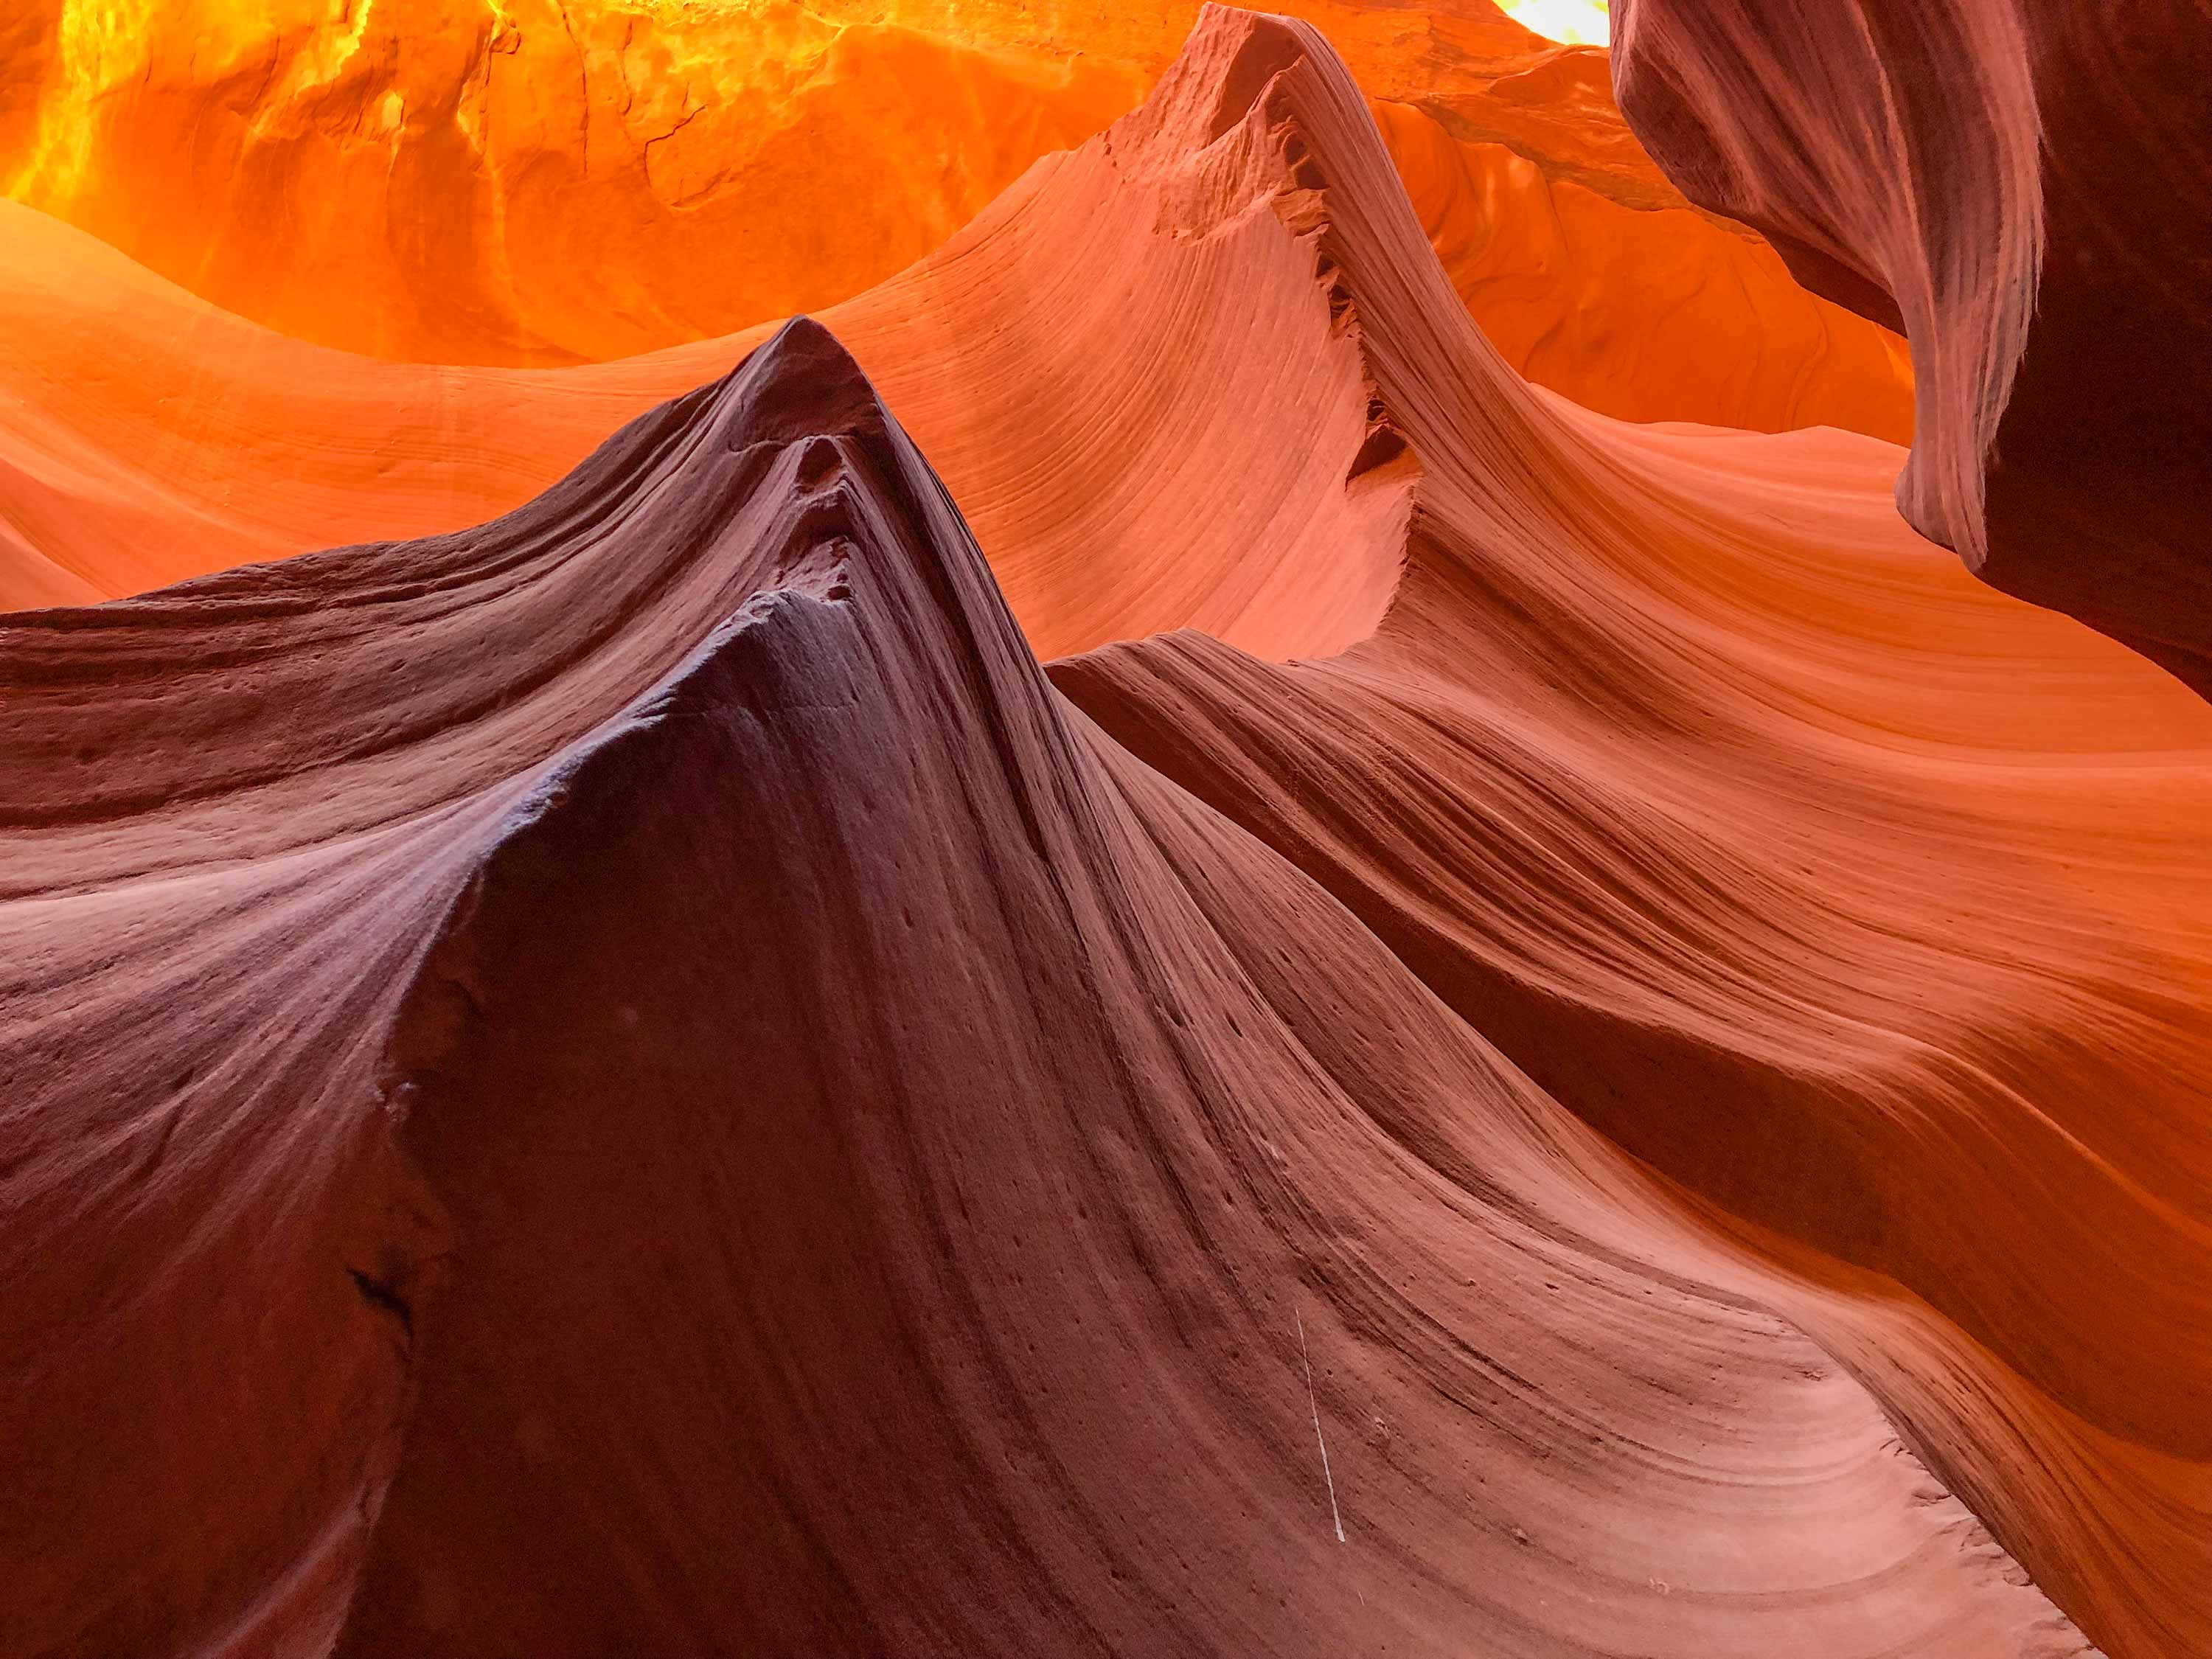
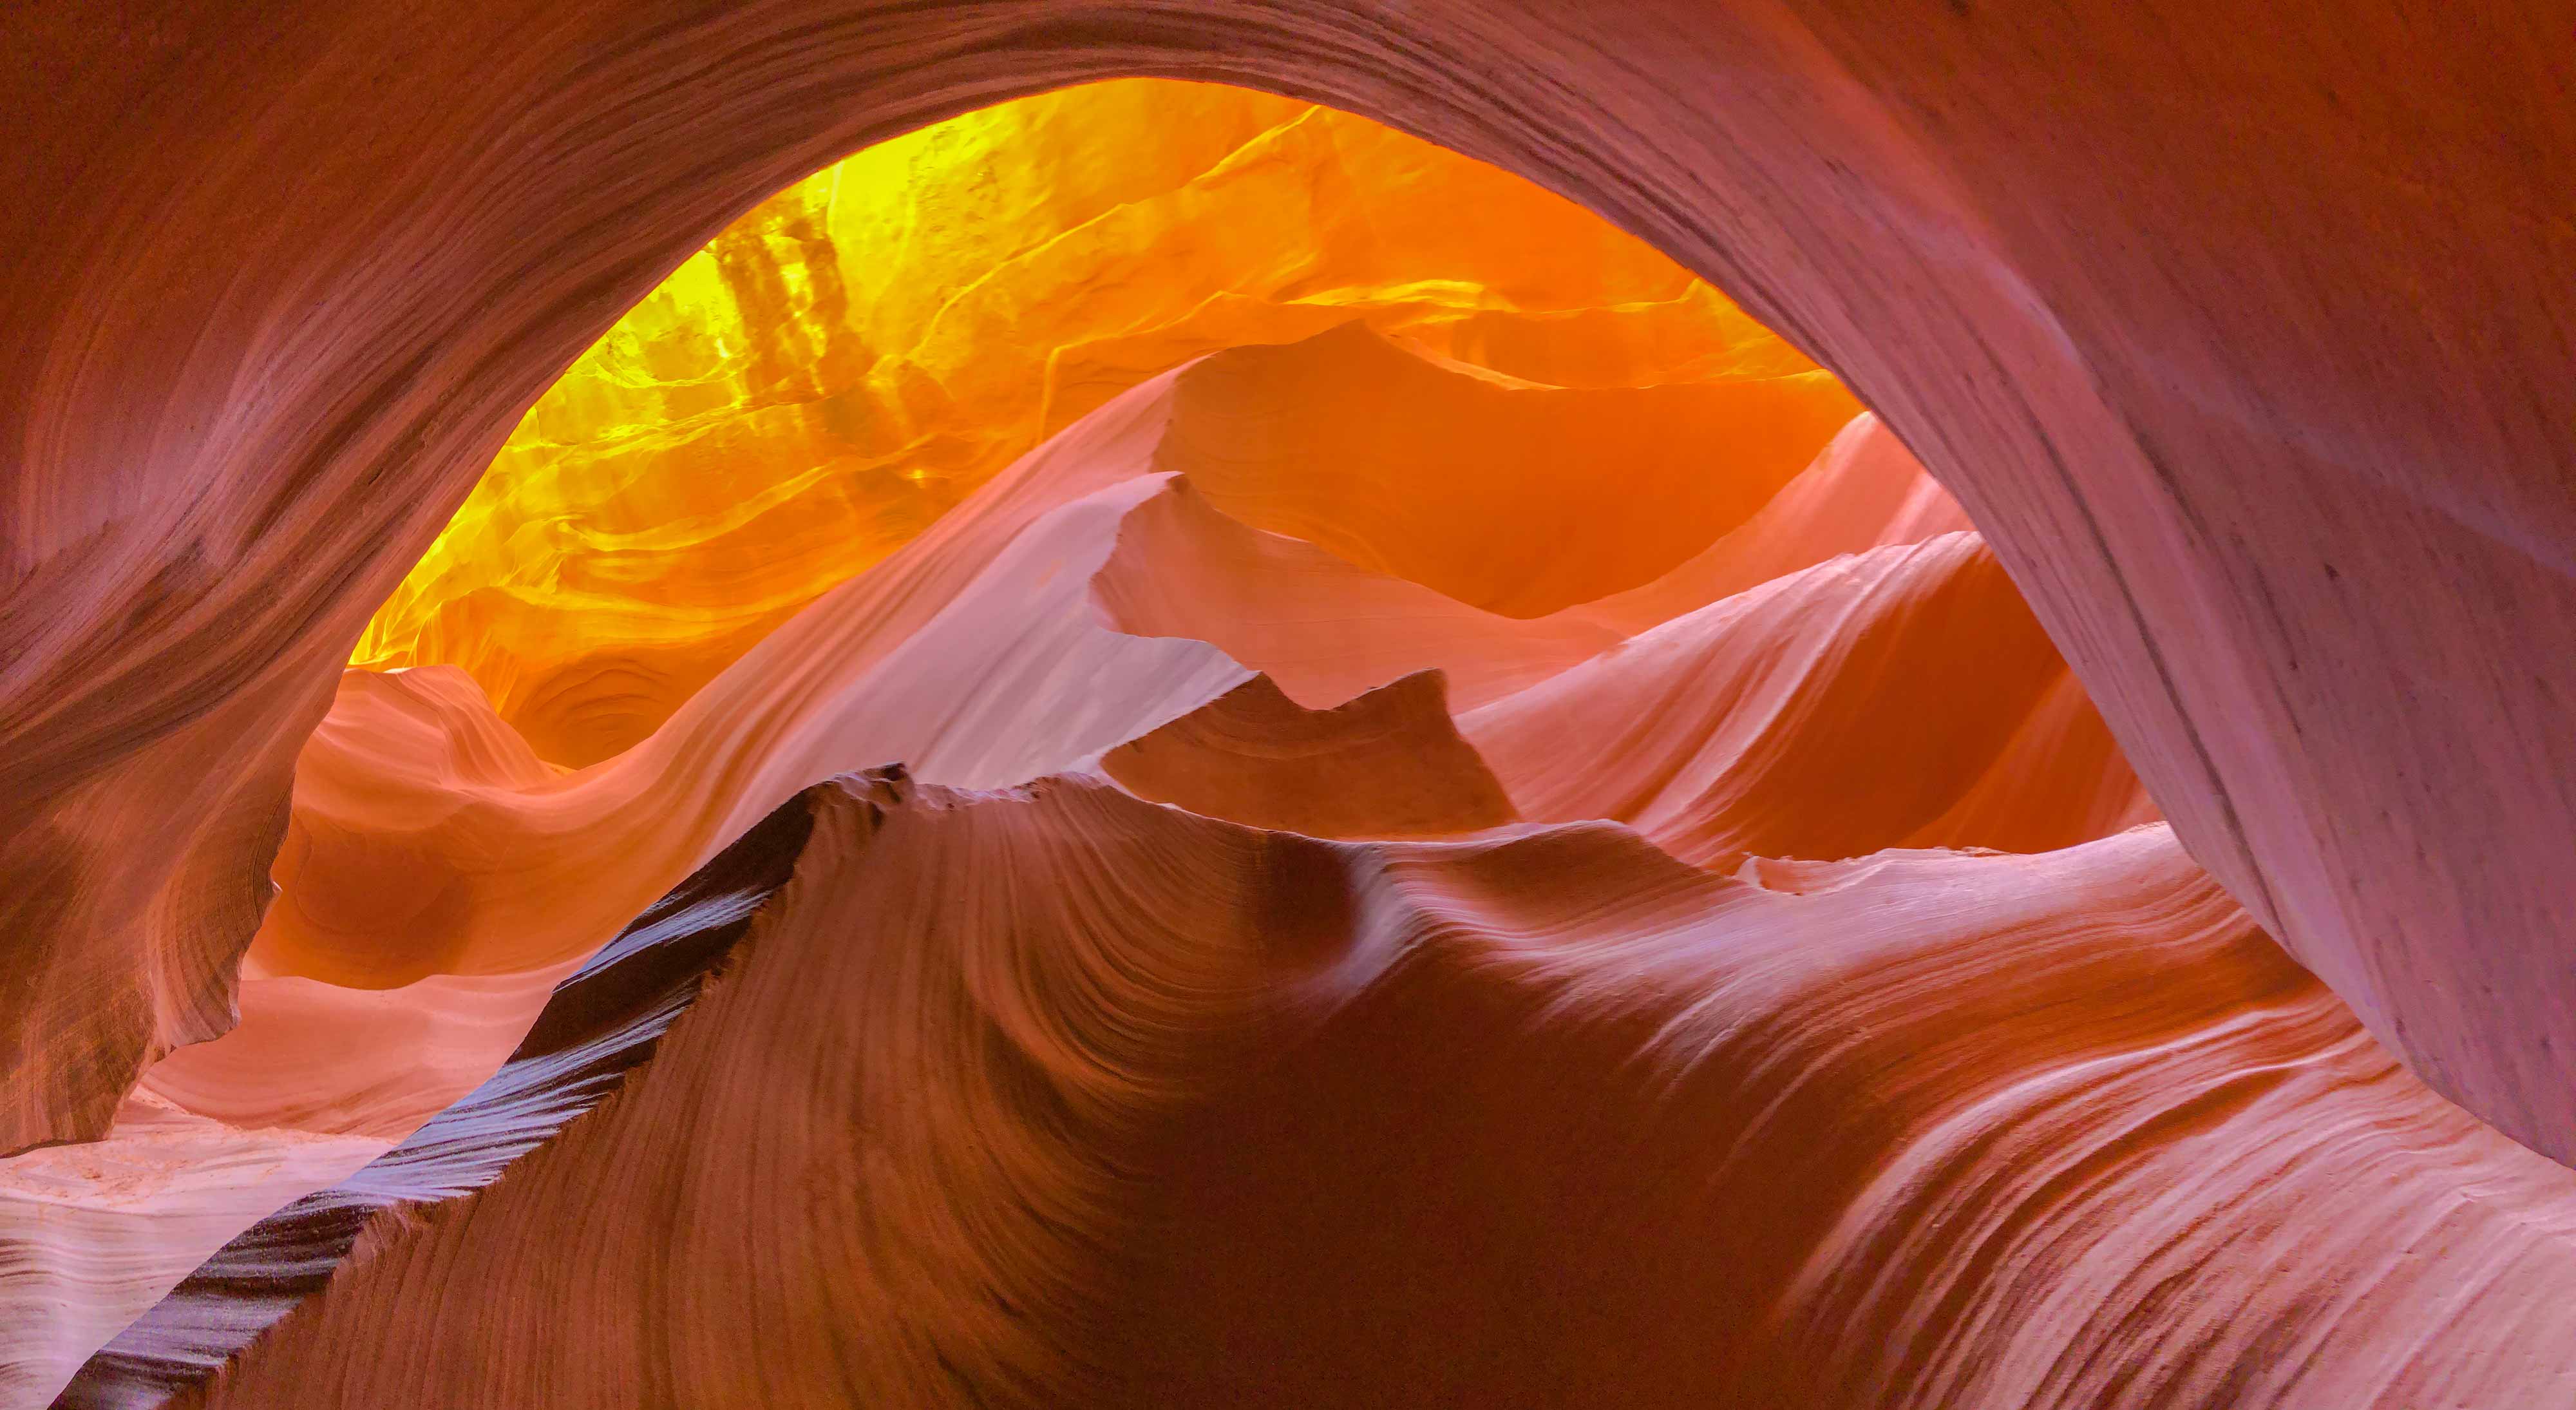
If manual mode is too much work, shooting with Aperture Priority is a decent option. In fact, even the Auto function on my Sony Alpha 6400 worked pretty well most of the time. High-quality phone cameras can also take great photos of the Canyon (this page’s panoramic photos were taken on phone cameras).
Cascading Walls: This rock wall resembles a small waterfall.
Photography Tip #4 (Balanced Experience): I recommend not stressing too much about the “perfect” lighting or photo. Just make sure to prioritize aperture and angles because you can’t do much about the lighting. The Canyon itself is naturally very photogenic, especially if you arrive during the recommended times.
Pacing is very important in Lower Canyon because you only have a few minutes in some areas (especially the very narrow parts). Prioritize enjoying the walk and looking through your eyes instead of a lens. Dedicated and prolonged photography sessions are for Upper Antelope Canyon.
Lone Peak: A rock formation that resembles a mountain peak.
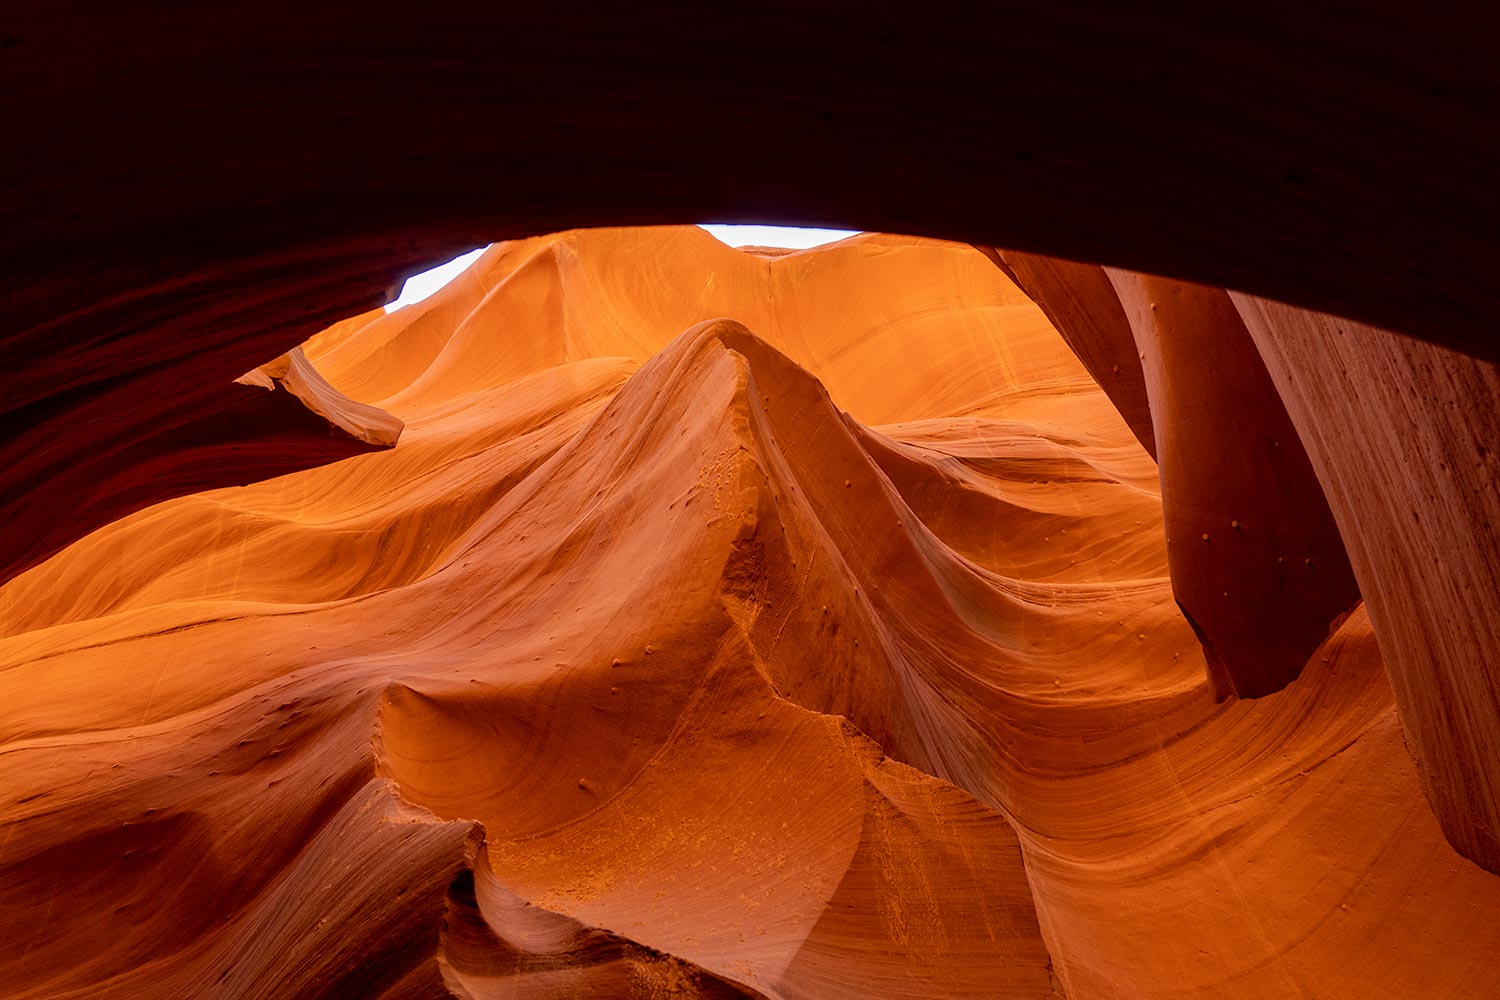
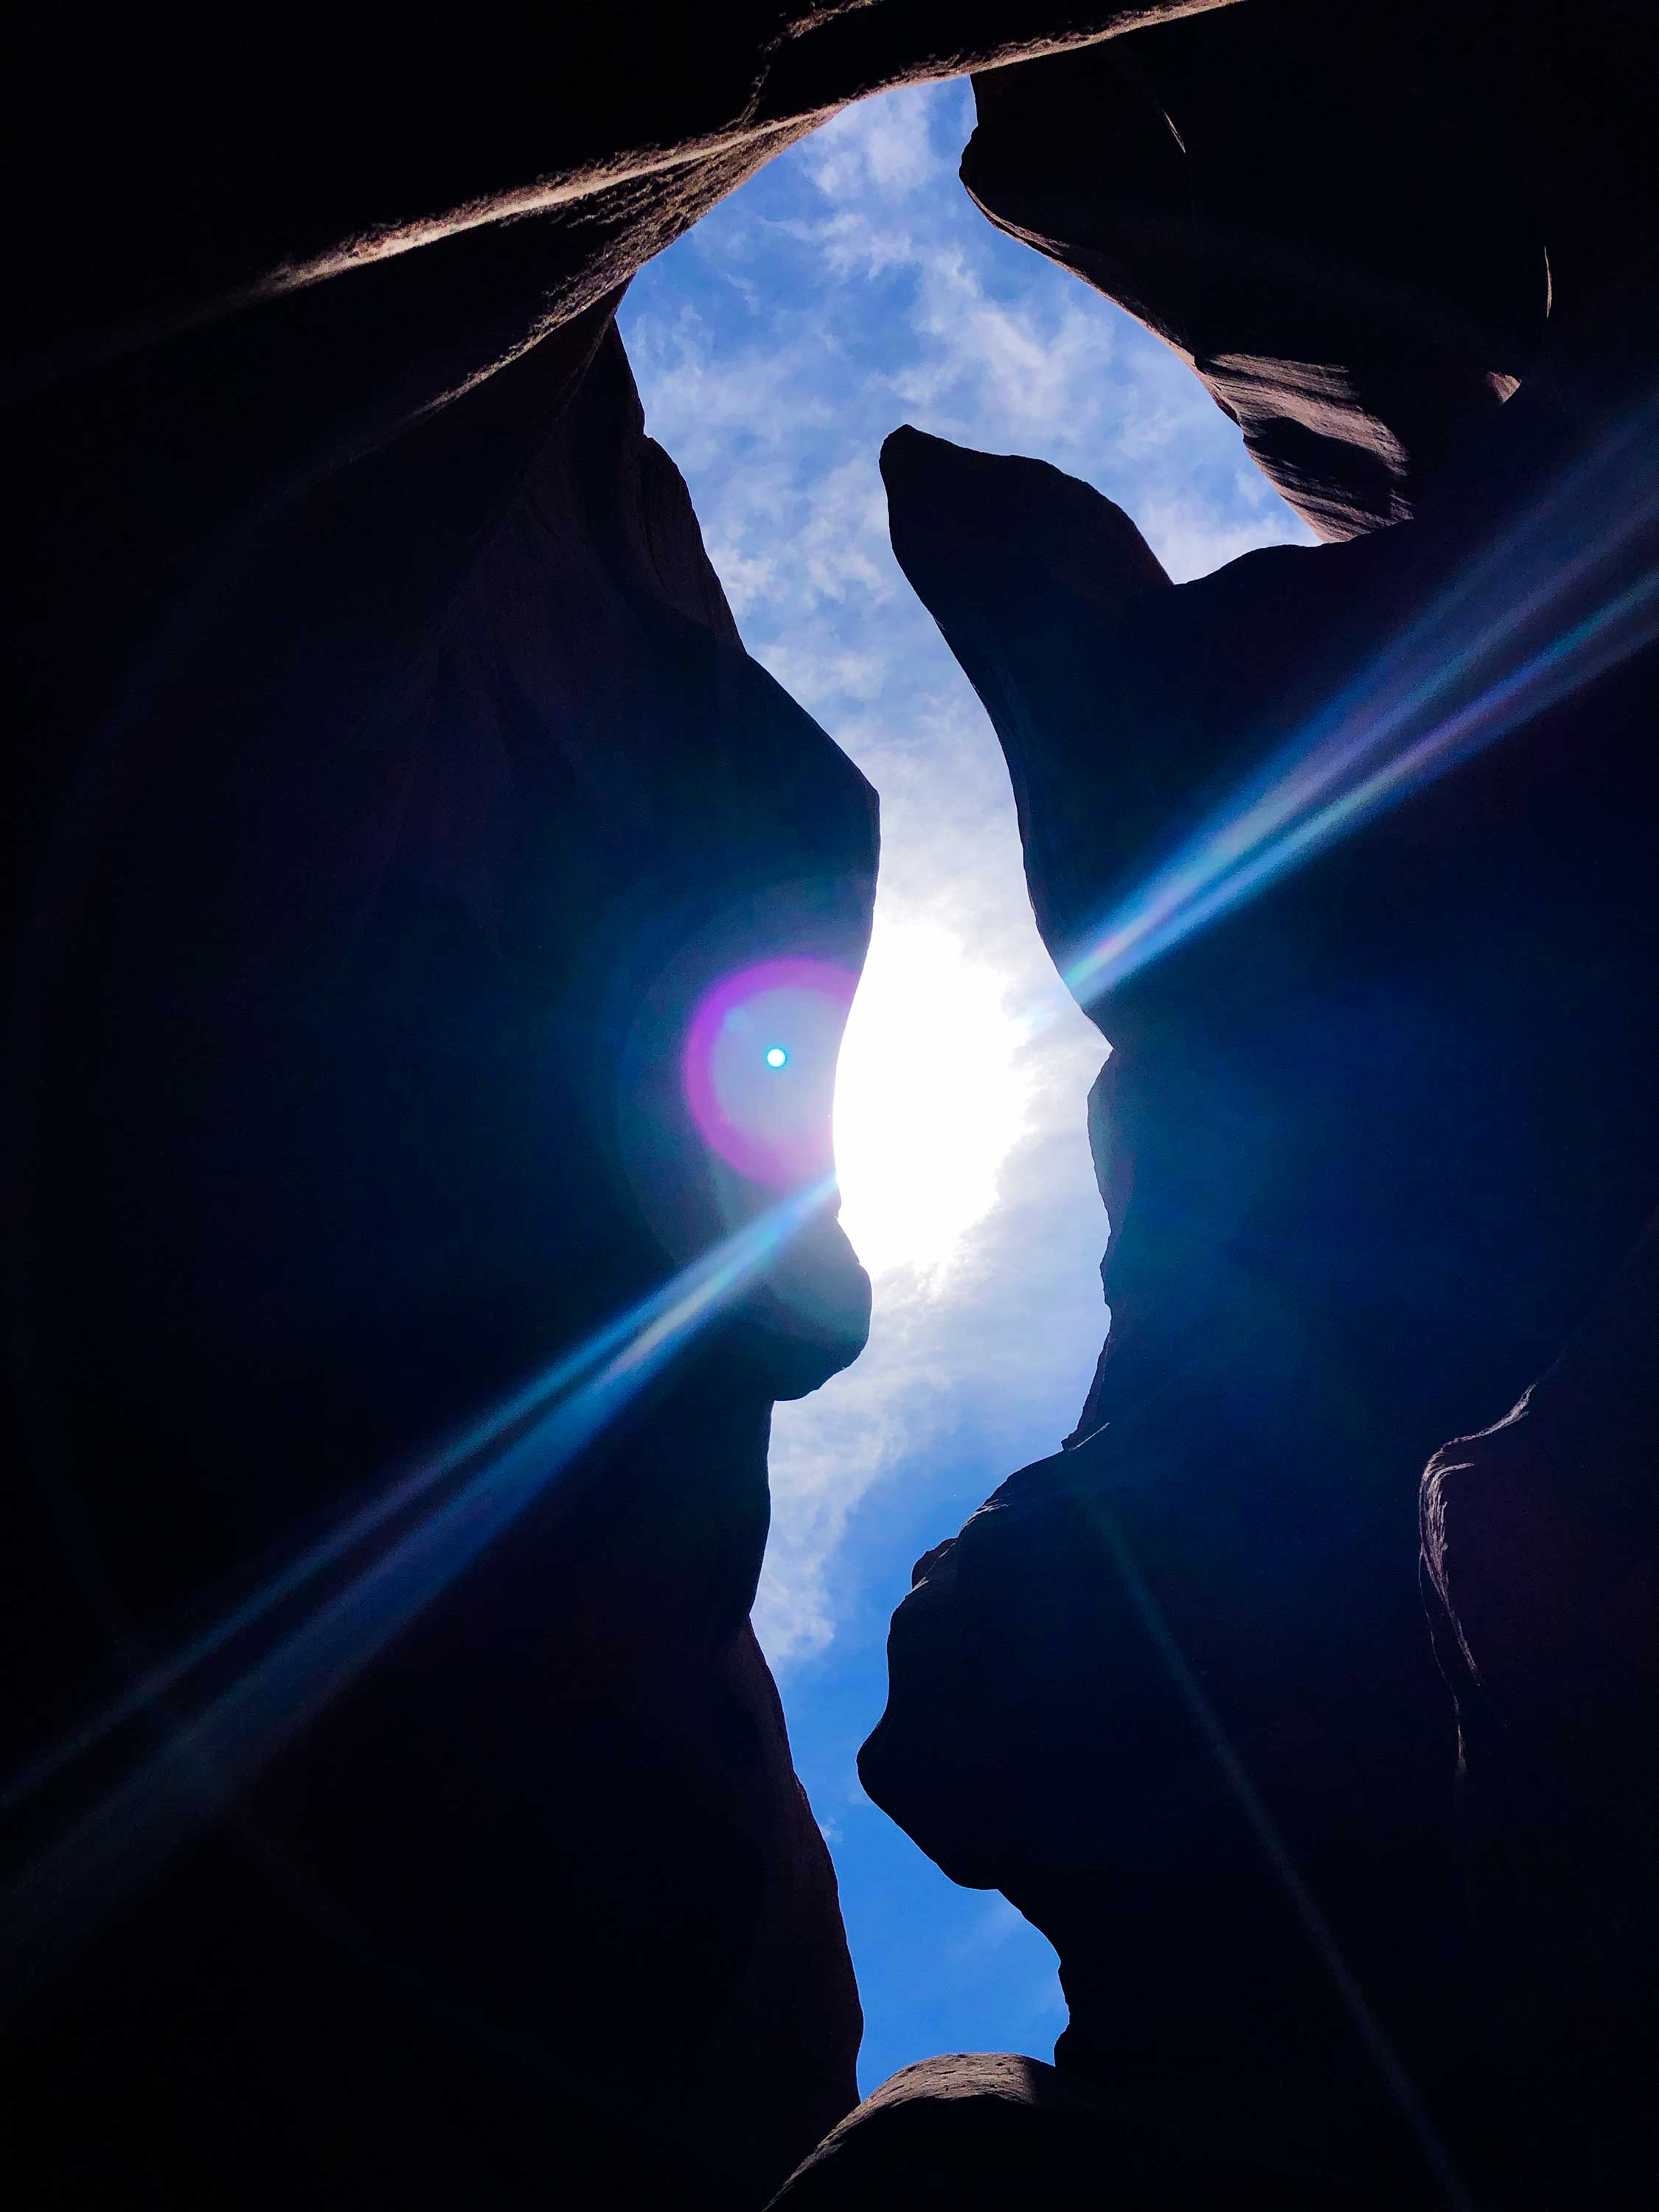
Photography Tip #5 (Creative Angles): Some of the best photos require aiming the camera up towards the sky. Try positioning your camera close to a canyon wall and aim it upwards. Most of the best photos can ONLY be photographed this way.
Twin Peaks: A rock formation that resembles two mountain peaks. Twin Peaks is the kind of photo that you see on desktop backgrounds—mysterious, beautiful, and kinda weird.
Photography Tip #6 (Helping Hand): The guides are extremely knowledgeable of the landscape. Although I took the photos, many of the ones you see here were specifically shown to me. While the other tour groups went on their merry way, our guide stayed back with us and showed us multiple interesting formations and optimal angles—even offering to take the photos for us on some occasions. You can stay quite some distance away from other people if your group is small because groups are allotted a certain amount of time in an area.
I simply would not have been able to find these unique photos on my own. Furthermore, there are misconceptions that you pay extra for the guides to discuss Navajo culture or the canyon’s history. They can discuss those things, but they will focus on what’s important to you (i.e. photography).
Sea of Sand: A rock formation resembling a sea of…sand.
Photography Tip #7 (Realistic Perspective): The actual Antelope Canyon can be quite different compared to many photos found online (mostly from Upper Canyon’s long photography tours). And while the canyon does still have many of the striking purple, orange, and red color variations, the color intensity is different in person.
For example, guides would throw sand so the light can bounce off the rocks, cameras with tripods would have long exposure times to brighten up the oftentimes dark canyon, and photo editing software would enhance the photos even more.
Crashing Wave: A rock formation resembling a giant ocean wave.
As you can tell, my photos are realistic because the colors are mostly variations of orange and red with some rare instances of purple.
Pirate: You can identify the pirate by the large hat, sharp nose, two eye sockets, and his constant desire to acquire some booty 😉.
Since many photos (except mine 😉) are edited beyond the realm of realism, I hope that you will have realistic expectations before you arrive. I’ve seen some very disappointed people who had outrageously unrealistic expectations (like a rainbow of colors in the canyon).
Make no mistake, the canyon is still very beautiful.
Lady in the Wind: I forgot the real name of this rock, but it looks like a lady who’s hair is blowing in the wind.
Towards the end of the tour, you will notice a seahorse at the top of the canyon.
Sea Horse: The Sea Horse is one of the coolest views in the canyon if you are lucky enough to see it during noon when the light shines brilliantly through.
Even the canyon exit is beautiful.
Lower Antelope Canyon’s scenery is simply surreal and strikingly beautiful. Over time, this place will become more and more popular (the congestion is why tour agencies no longer offer photography tours of Lower Canyon). So definitely see it soon, or available tours will eventually sell out months in advance (it’s already starting to happen).
I whole-heartedly recommend this incredible destination. And even though I showed some major rock formations to look for, there are many other wonderful ones waiting to be discovered.

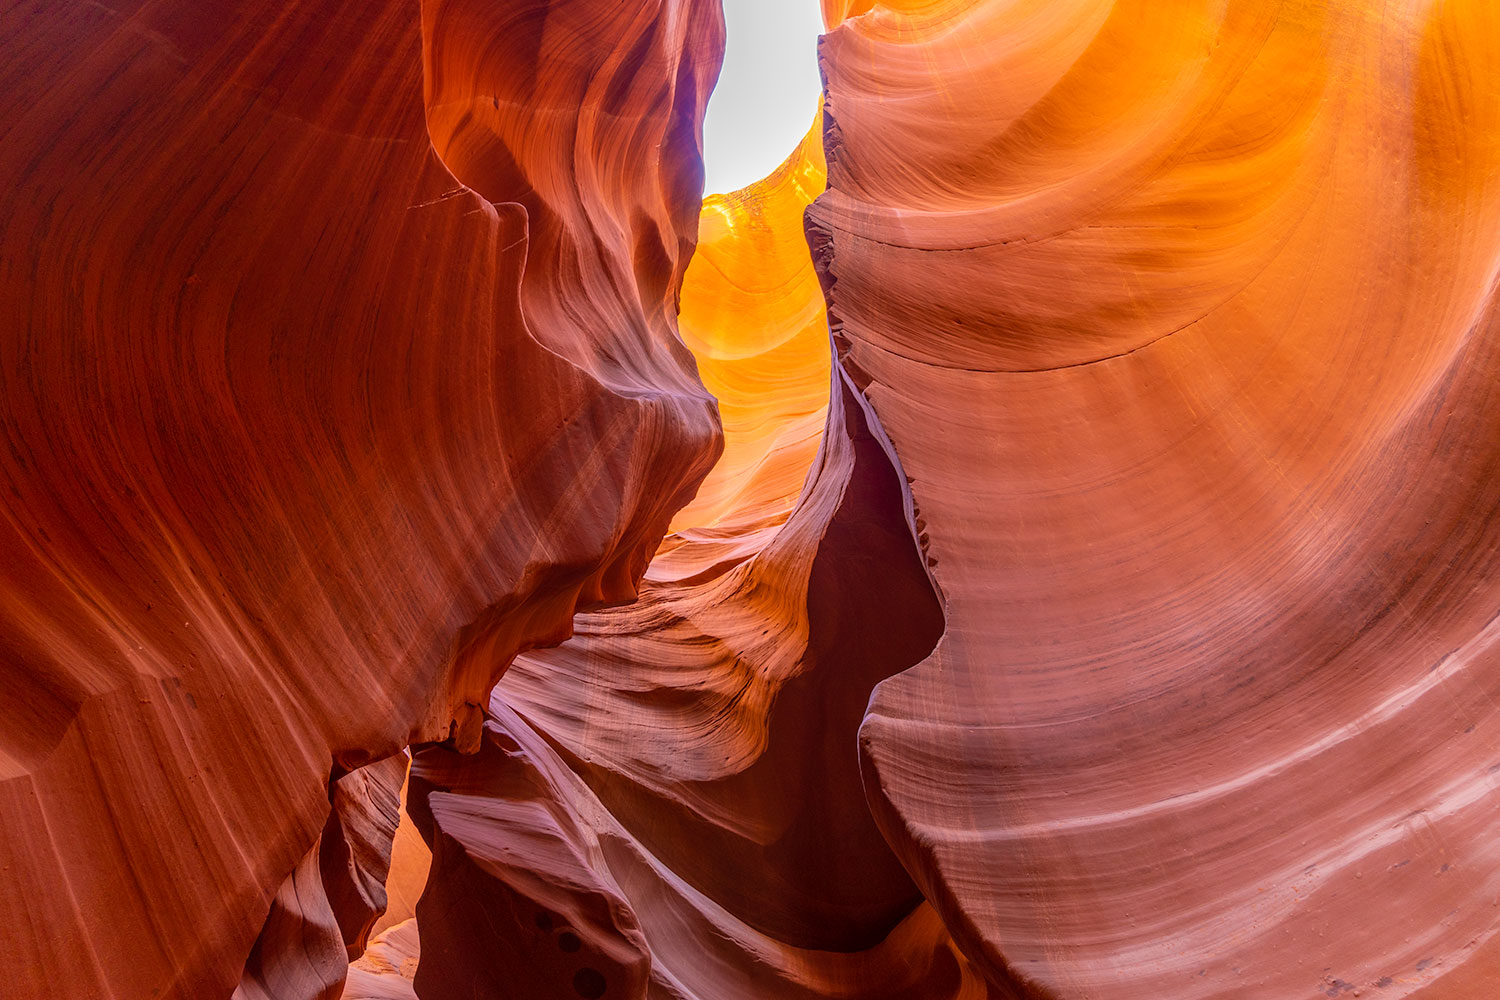
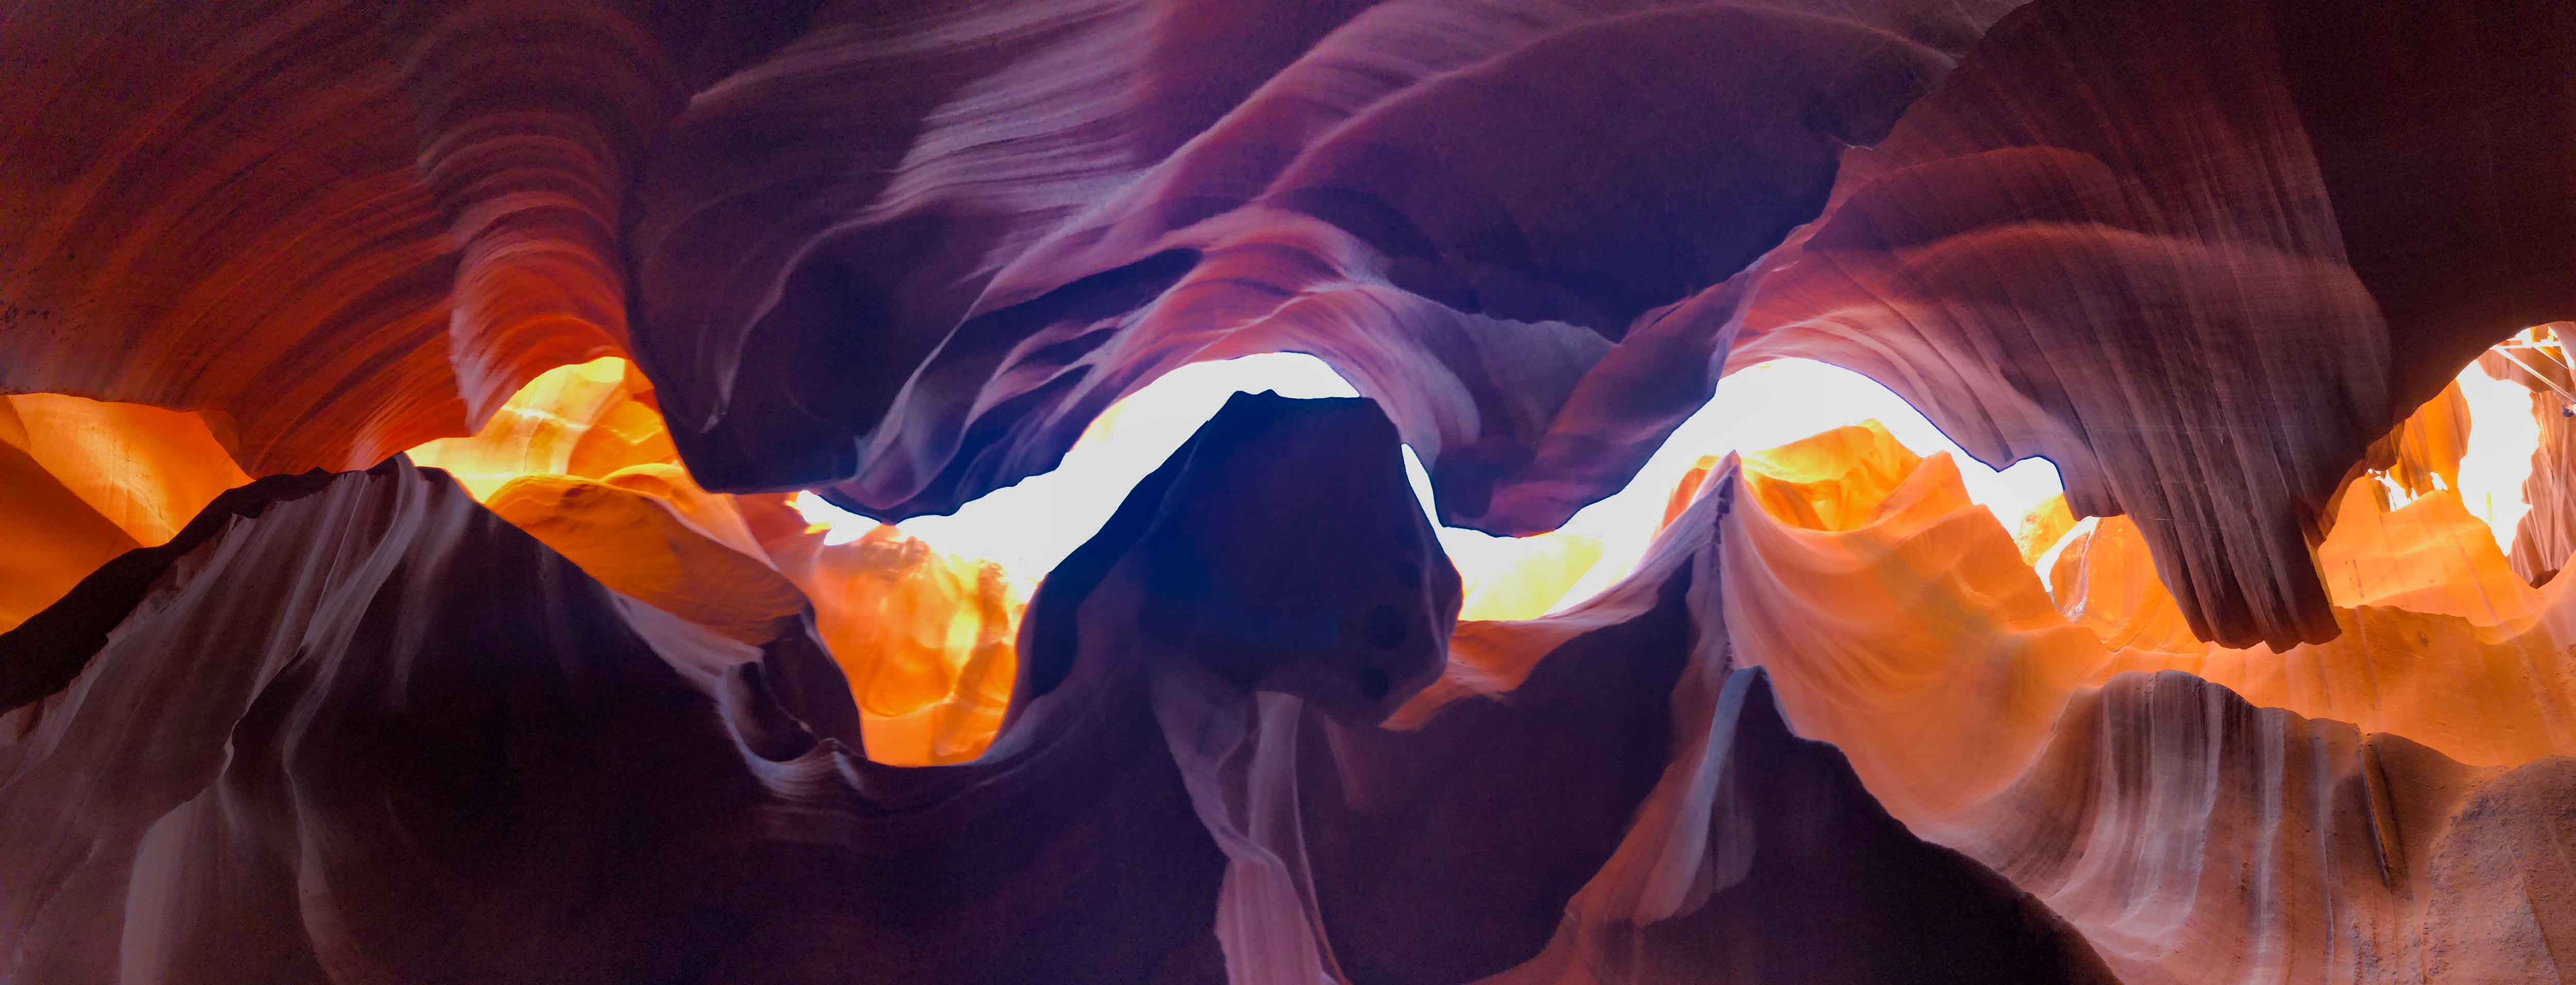
 © Copyright - Ace Adventurer
 © Copyright - Ace Adventurer
 © Copyright - Ace Adventurer
 © Copyright - Ace Adventurer
 © Copyright - Ace Adventurer
 © Copyright - Ace Adventurer
I’m in love with this place. It’s just so beautiful, and these photos are amazing! My god! They look just like those desktop background photos! Did you take them yourself?